|
While we wait for last night's rain to evaporate (deja vu all over again) I can show you the smaller deck frame. At the end nearest the garage, the frame is square and ready for the stairs, yet to come. 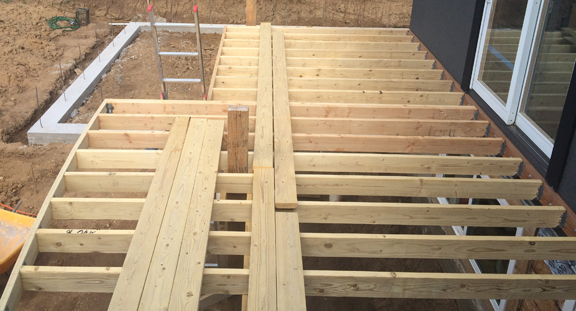
The other end of this little deck has an arc, returning the cantilever back to the main rectangular dimension of 8 feet. Here are a few shots; one from above, another from below, and a third with a detail of the saw kerfs made to bend the 2X6. 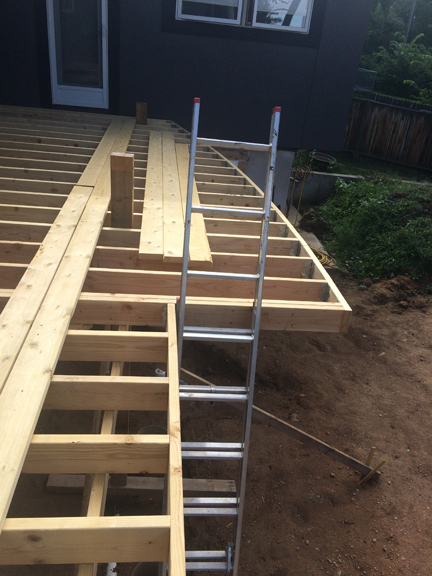
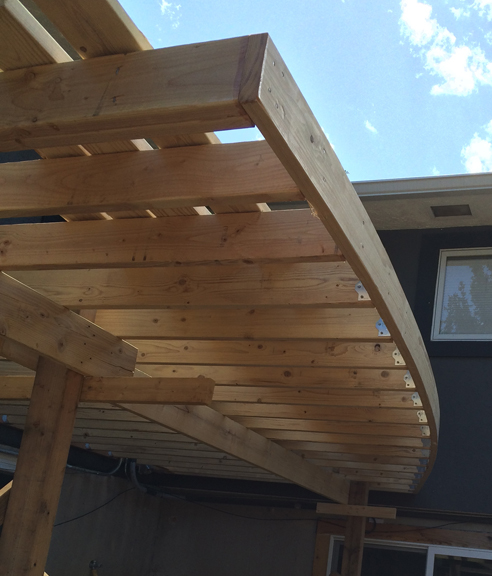
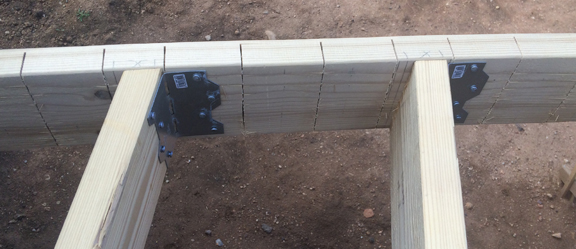
I cut each joist at the correct angle to meet the curved, rim board. Laid out with a full sized piece of flexible trim and to show where the joists would meet the curve. Who says there's no joinery in decks? Two more tips for construction of a deck. First, for every board that's part of the frame, cut off both ends to remove cracks and splits. Then as soon as you make the cut (and make it a good cut by using your chop saw patiently - don't hurry or the cut will be coarse) apply 2 coats on each end with some cheap shellac from Home Depot. This will seal the ends of the boards against future moisture and rot. Why cut and shellac both ends? Because it's MY deck and replacing a joist is not a simple thing to do, and I learned this from Terry Raat when I had a job building decks that came with a 20 year warranty. It's time well spent. It also adds to the Zen of woodworking. 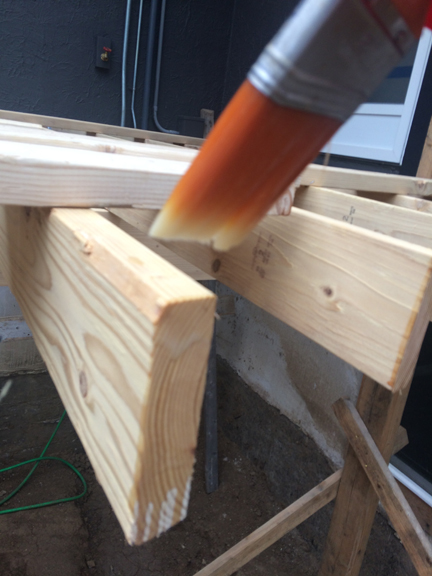
The second tip is to screw a board to the underside of the framing at each end when you have it exactly square. Otherwise, by the time you screw the decking down to the frame and start pushing or pulling the warped boards straight, you will discover your precious deck is no longer square. 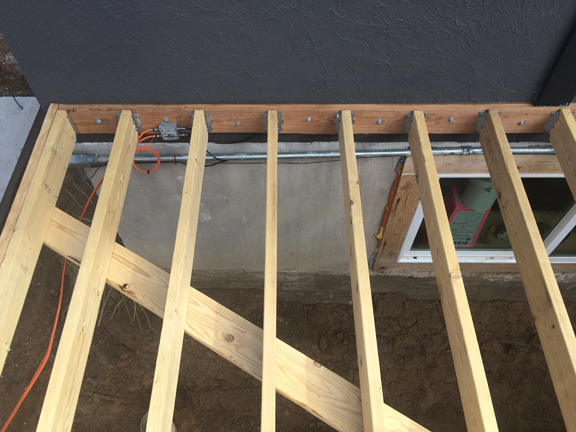
It may look OK, but the old deck was scary to walk on and I was always waiting for the time when we could replace it. Looking carefully, I think you can notice the bend in the middle where it sagged. At least the tourists didn't care. 
One of the benefits of replacing the deck was to allow for access to remove the dirt and gain a walkout basement. Here's a pic of the 'window well' I dug to gain access to the sliding glass door installed during the basement remodel. 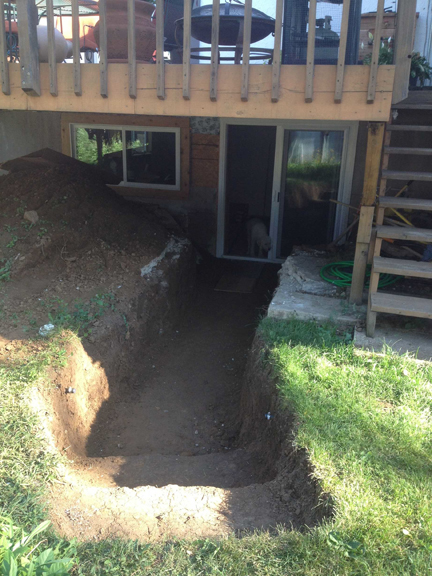
Literally, removing the old deck took only a few hours. Looks good, but so much has happened since then. 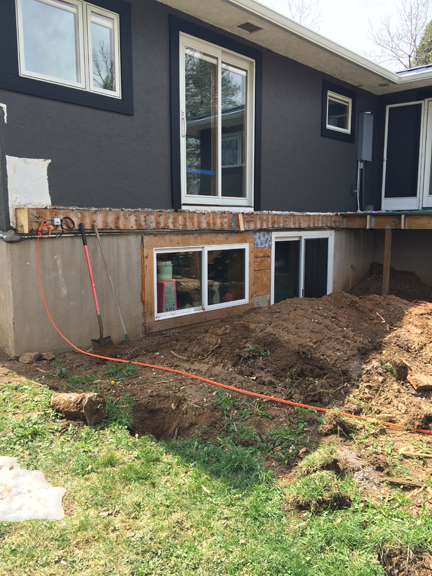
2 Comments
Ellen
8/10/2015 11:45:49 am
Looks like you're zipping right along with this project, in spite of the rain, Master Tom! We'll take the rain here in California if that will help you complete it faster ...
Tom Birkeness
8/10/2015 12:52:17 pm
Deal! Leave a Reply. |
AuthorSix years ago this blog began when I began building a detached garage with a rooftop deck connected to our house deck. I did everything then, but now the blog will show some recent projects. Archives
August 2024
Categories |
 RSS Feed
Thomas J. Birkeness, Founder & Master Craftsman | 719.896.0574 | [email protected]