|
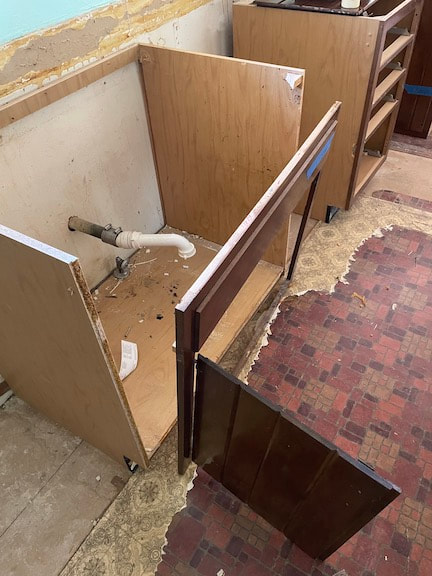
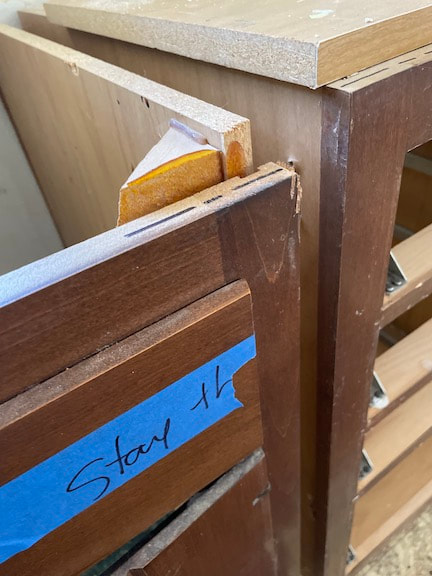
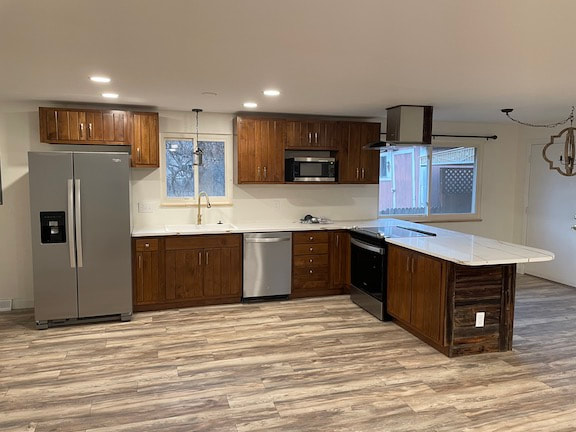
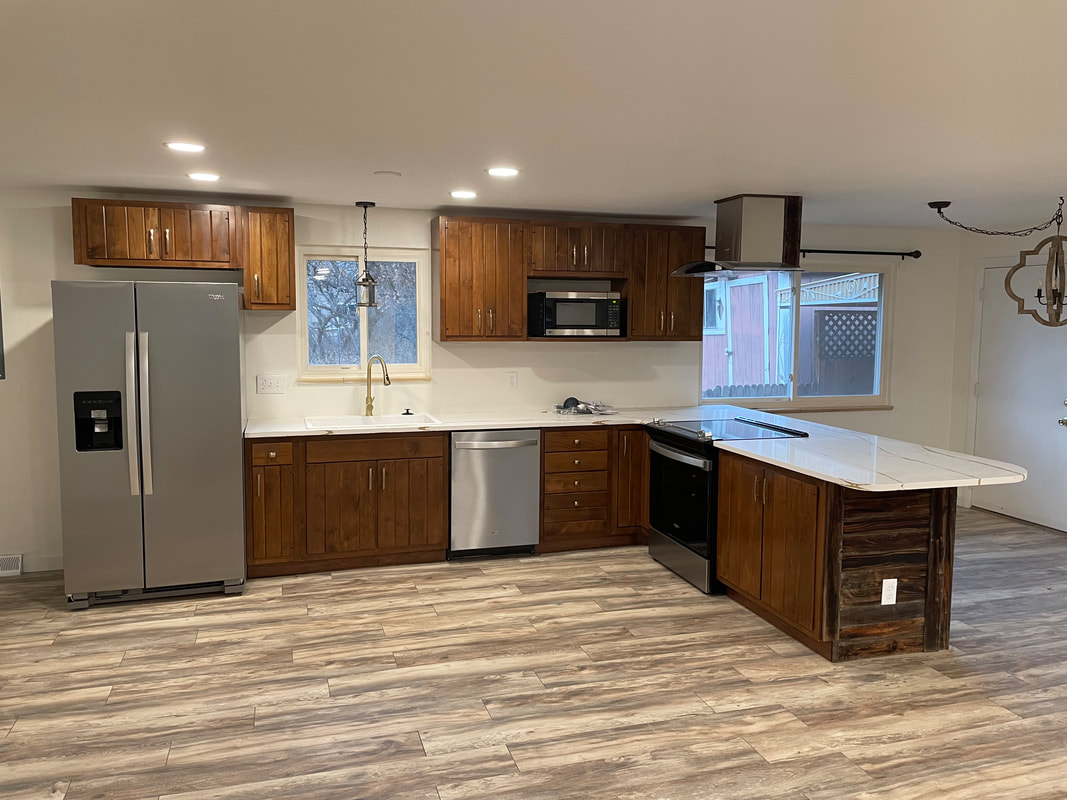
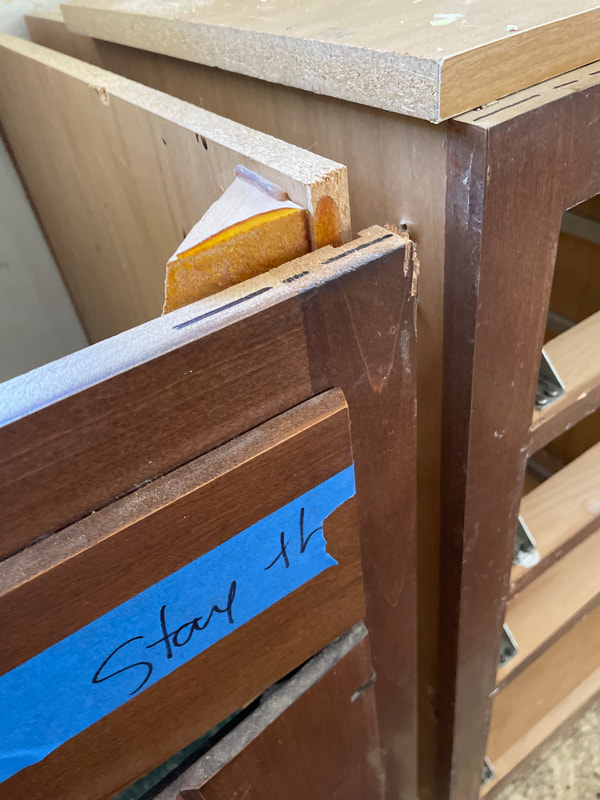
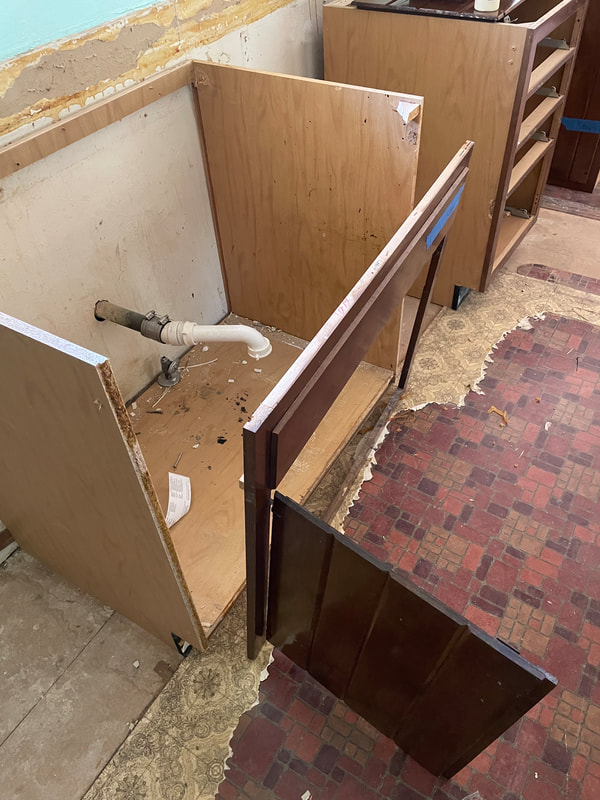
A couple of years ago I saved this kitchen. Only because I met someone who was looking for this kind of service, am I posting these photos. Otherwise, this is my little secret. The first two photos are average cabinets after years of normal service, a result of using hot glue and staples at the factory, and a mediocre installlation: Here's that kitchen with repaired cabinets and new appliances and counters. The customer was thrilled!
1 Comment
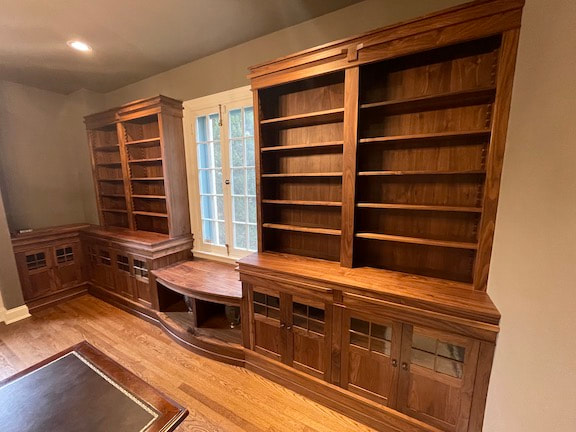
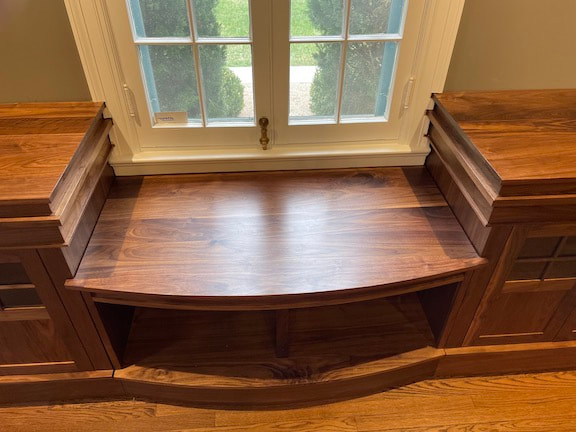
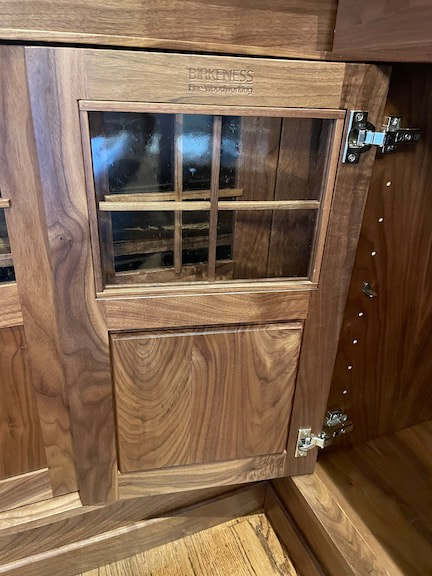
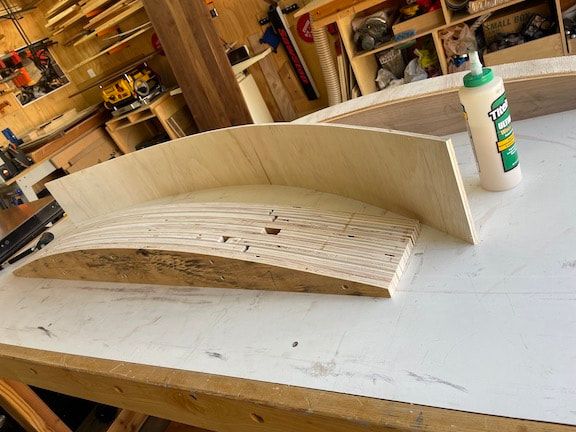
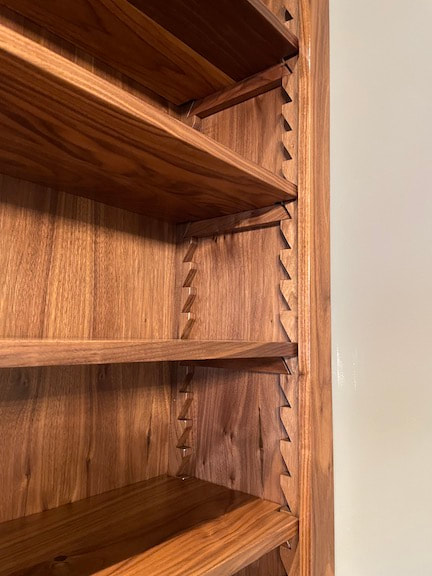
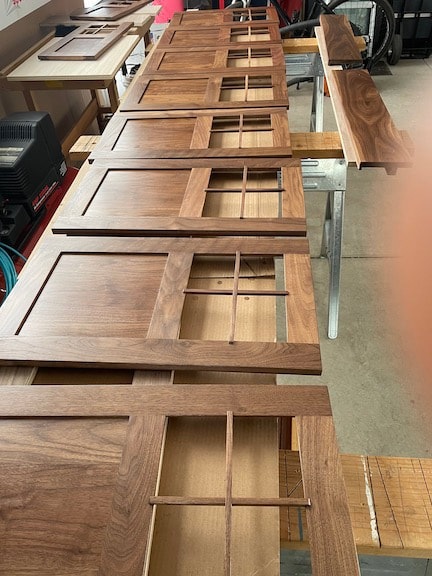
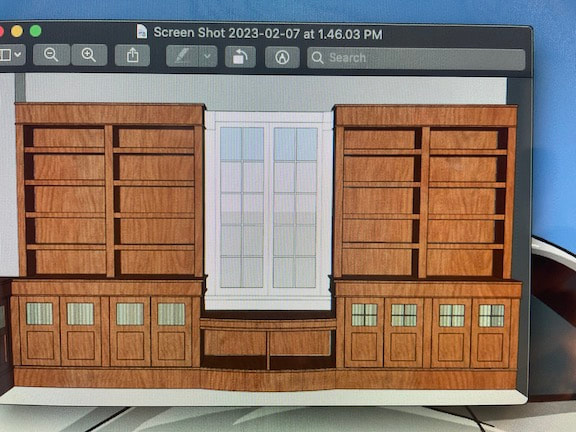
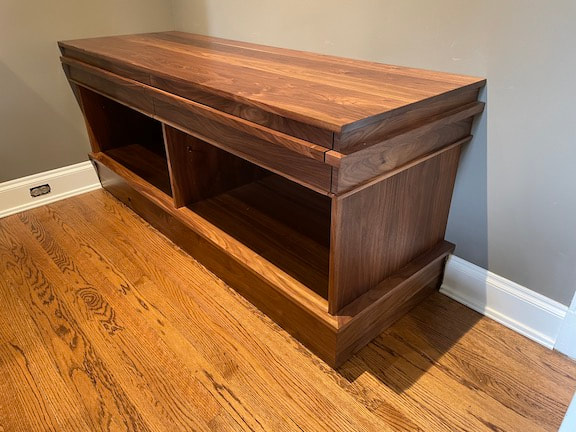
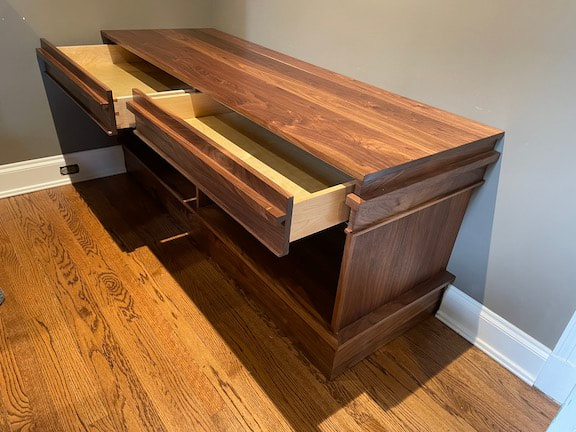
When I met the client, they were interested in bookshelves for their office/library. In my mind, plain shelving was not an option. They live in an incredibly beautiful, old (historic?) home that is a very warm retreat for their family and dogs. I did my best to give the idea of bookshelves a new perspective. The original wall to have shelves was expanded around the corner. Bottom cabinets feature doors with seeded glass and mullions. The entire project was made with Walnut, hardwood and veneer plywood where necessary. A credenza opposite the bookshelves holds more office necessities and provides access to a printer, along with other supplies. Above, you'll notice the curved center bench, a detail of the back of a cabinet door, and an image of the process for making curves and bends. An unusual detail for shelves is the Birdsmouth system, on the left. In person, it's an eye-catcher! It's a series of scallops, nicknamed 'Birdsmouth', which hold (what else) Worms! The shelves rest on the Worms. Simple to use and easy to adjust. The middle picture shows the doors nearly done. The last picture is one of the many renderings I showed the clients. As the project evolves, there are many ideas to present and incorporate into the final design. If you're looking at the bookshelves, over behind your right shoulder is the credenza. It's an open cabinet with two drawers.
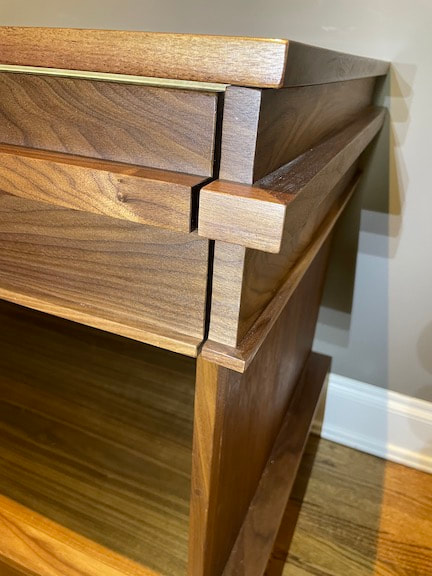
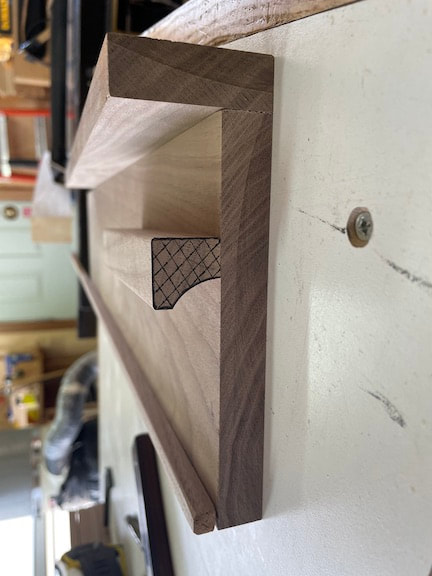
There's no knob or pull on the drawer. But integrated into the decorative trim is a pull for your fingers. The last picture shows how the 'Pull' was made. I met the client casually while selling an item posted on Craigslist. While chatting, I learned they were planning a kitchen remodel. Enough said!
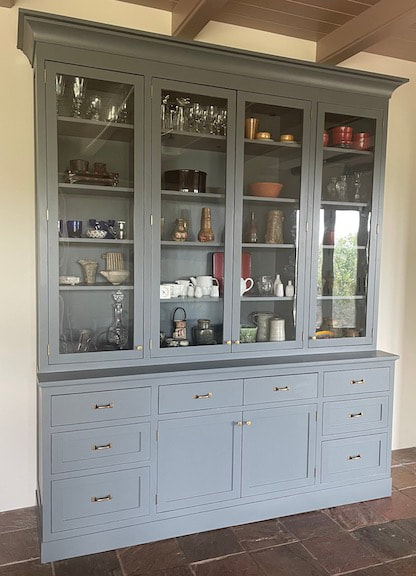
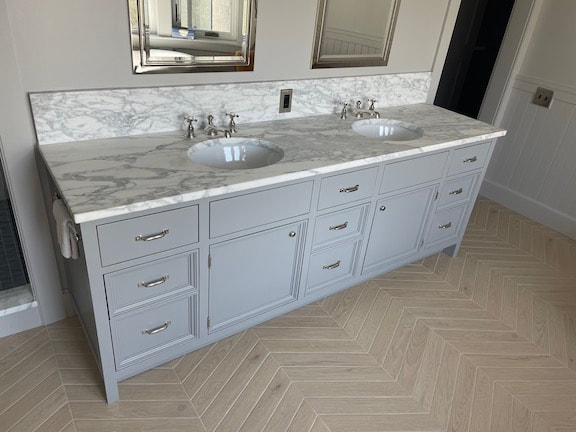
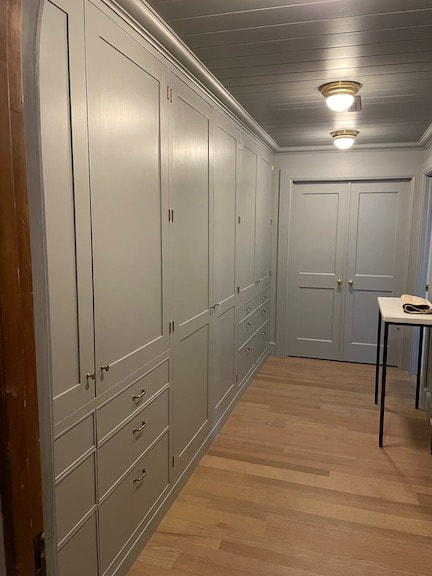
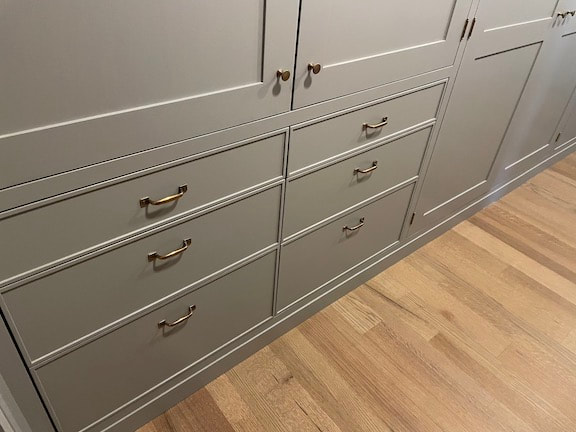
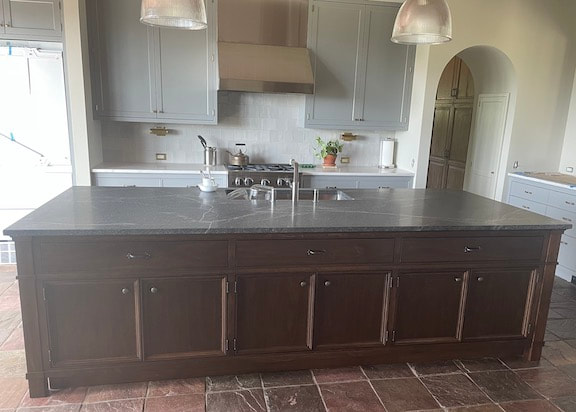
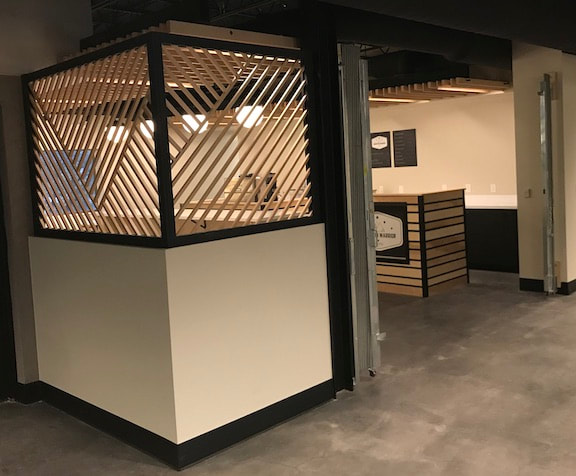
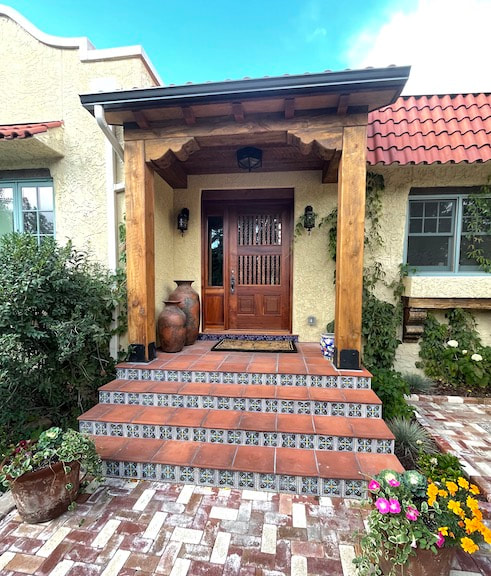
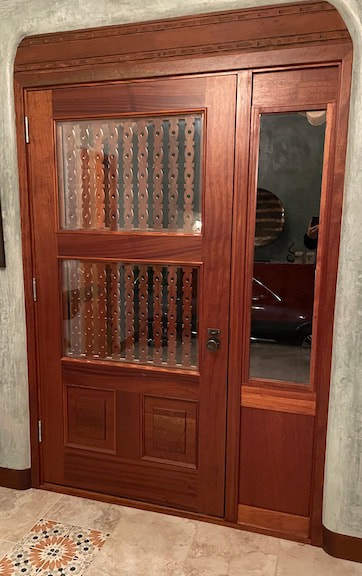
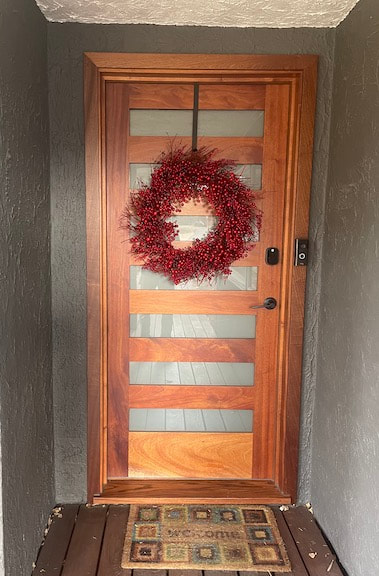
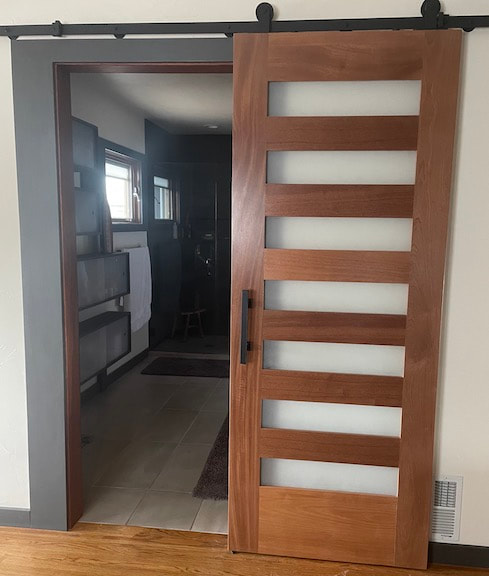
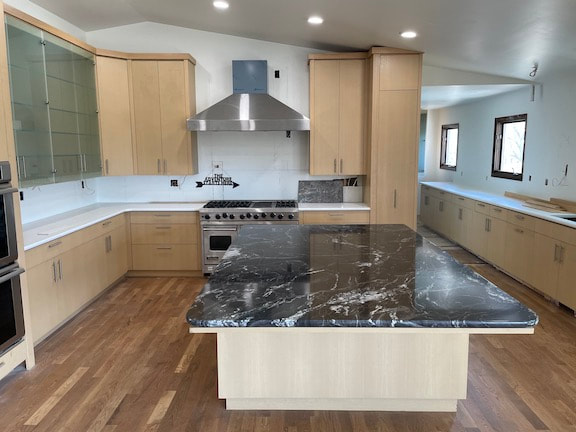
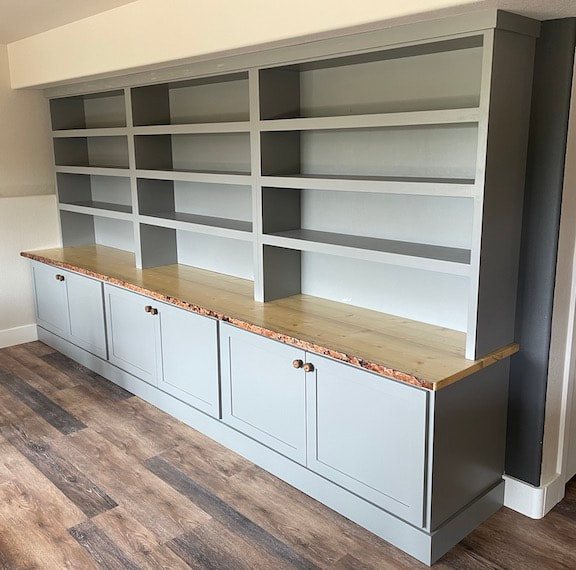
Keeping in hot pursuit of their plans and status of the project they were planning: cabinets for a historic house, the original Broadmoor Polo Club's Clubhouse. This included the master bath, dressing room, and kitchen. Only after exhausting all other cabinet shops locally, did they choose me, as I was able to perform the project as they pleased, not putting any limits on anything! For example, all cabinets were hand painted on site! Custom made is custom made. They even chose to use their architect from Brooklyn, NY, as they couldn't find a local designer they liked. The project was challenging in many ways, but working with the client was fun and the contractor, Bob McGrath Construction, performed everything perfectly and efficiently. The photos don't even begin to reveal what you''d see in person. In order, see the 8ft tall and 7 ft wide hutch, the master bath vanity, two views of the dressing room, and the walnut kitchen island. Worked briefly for Bob McGrath Construction. Best contractor for sure, and I was able to create the following Birch Room Divider Screens. Made some doors last year! Southwestern for Henrietta using Mahogany, and modern doors for us (the front door and a trolley for the bath) using Mahogany and etched glass. Incredible clients, Tony and Juliet, have kept me engaged in their remodel since first finishing up their glamorous kitchen. Mountain project includes live edge countertop. Kitchen restoration using original cabinets, repaired and re-imagined! Cabinets were a little rough to start with.
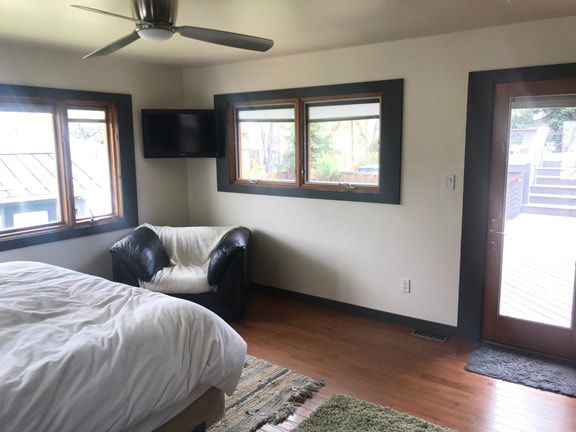
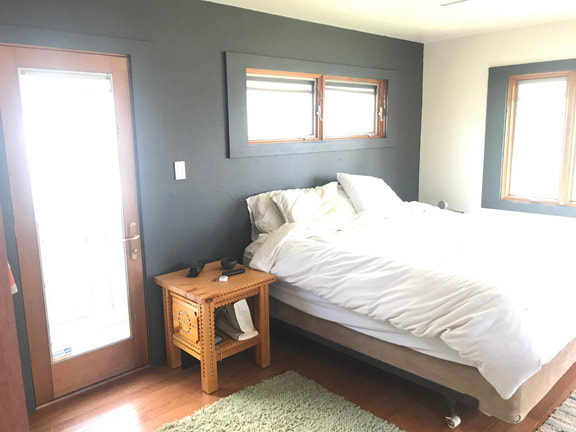
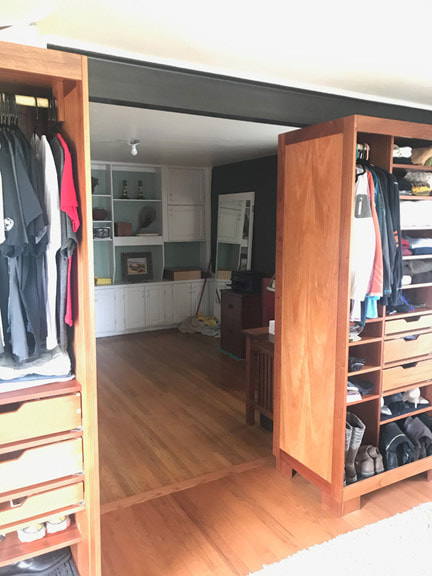
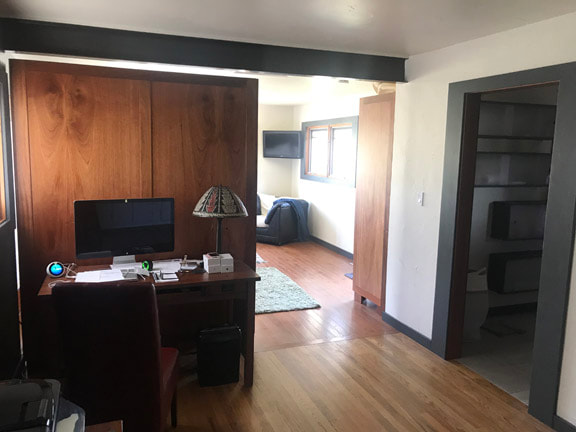
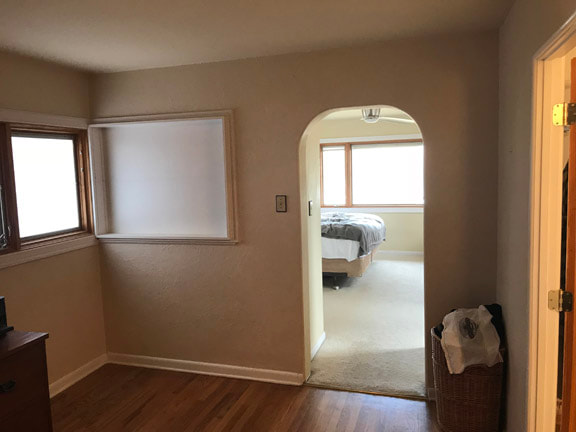
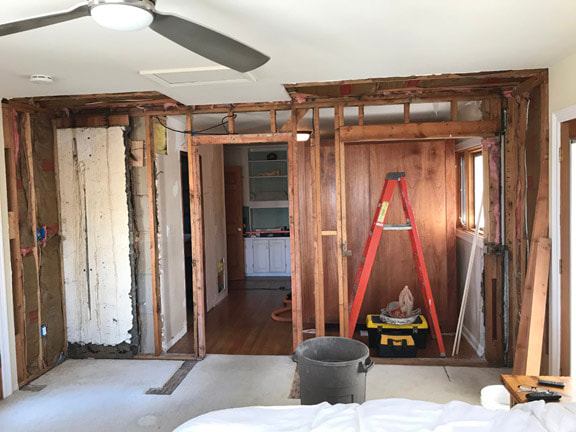
All done! No more moving the bed back and forth. What I don't show is the replacement of the subfloor in the bedroom (forgot to take pictures.) While the floor was up, I repositioned the heat and return registers to places where they weren't under the bed or any furniture. Also added a ground wire to an outdoor light fixture. The old office floor is original to the house when it was built in 1950. The bedroom was an addition done in 1985 with a subfloor made of 1 inch plywood shimmed up 1/2 inch. So it was 3/4 inch higher and created a big lip/step/ugliness. Out it came, and it was replaced with 3/4 inch OSB tongue and groove, glued and screwed. No more squeaks and the floor is perfectly flat across the whole area. Lots of extra work, but worth the effort. When making the door and window casing, we did something a little unusual, inspired by the bathroom. We made the casing look like a landscape oriented frame, like the difference between a landscape and portrait photo from your phone? Anyway, we used the same paint colors as the bathroom, too. The west wall was painted the same as the casings and baseboards. Here's a revealing look at the two closets, before we add the doors. Looking through the old doorway from the bedroom into the office. (Yes look at the wall of white cabinets that are destined for demolition when the far wall is modified.) You can see the transition in the floor, but it is flat and beautiful! You can also see the beam more clearly. The last look is from the old office. The next thing on the 'to do list' is make and install closet doors and the bathroom door.
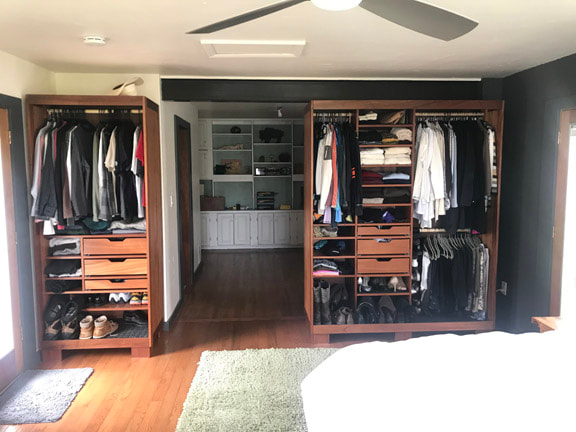
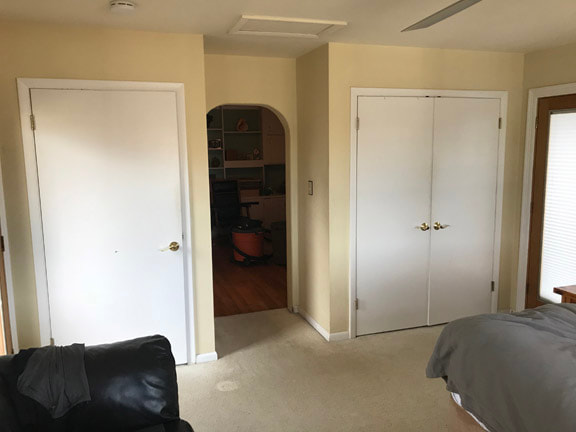
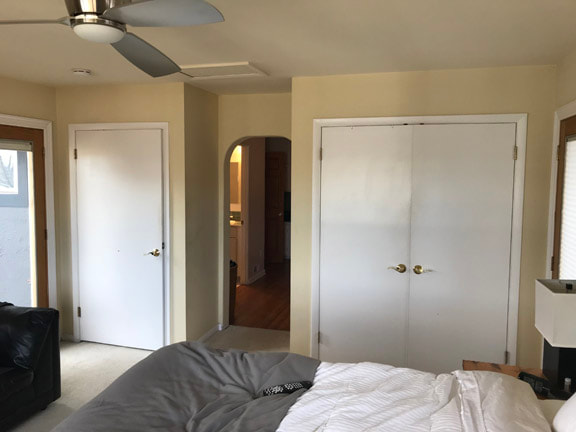
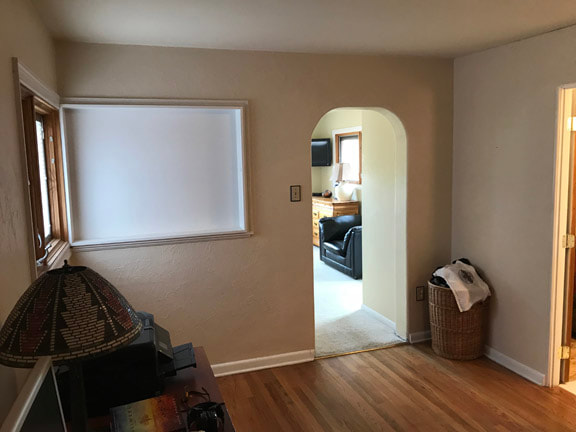
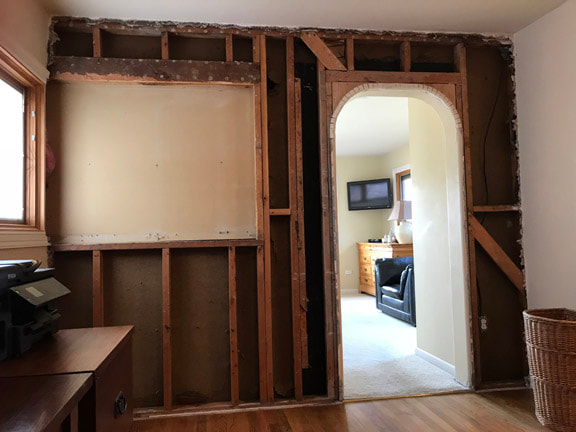
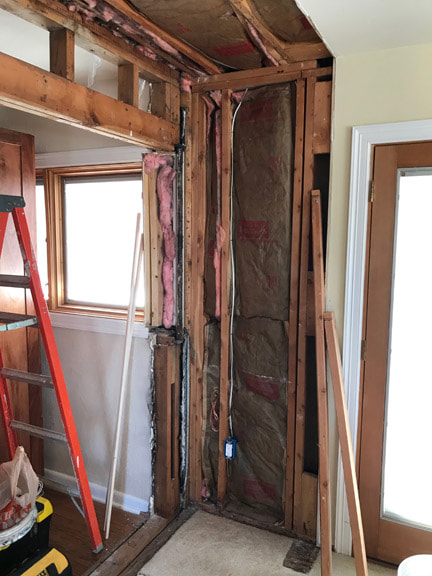
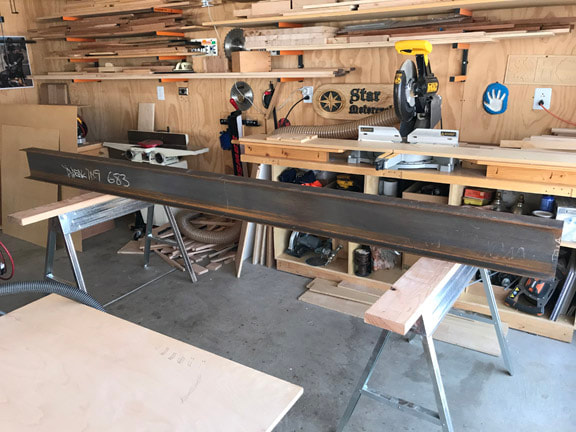
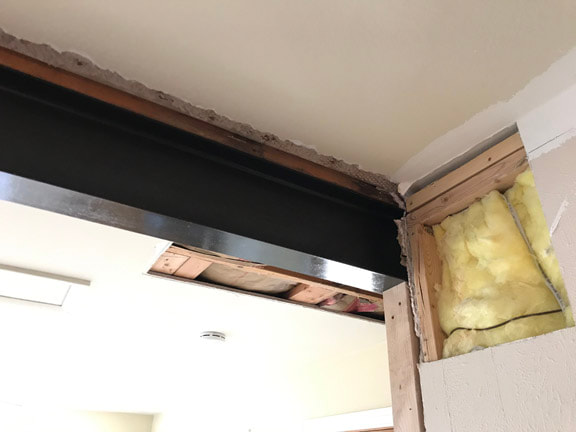
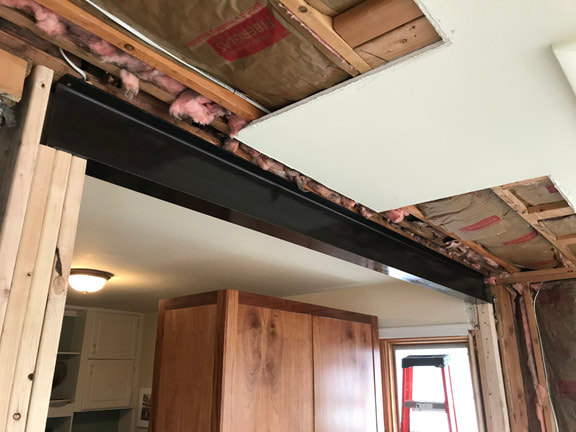
See you then. On February 20th (2/20/2020 for you numerologists out there) Diane and I celebrated our 27th Anniversary. Thank you very much! Back to the routine blog business; I've been busy with car maintenance, building freestanding closets (pics to shown at a later date when there are some) and bedroom remodelling. Before pics of the bedroom and adjoining office are below: What you'll notice from the bedroom side are the two large closets. The bigger one is for Diane and the smaller is for me, naturally. From the office side, note the stubby wall near the hamper that's about 18 inches deep (such photo composition!) On the window side is a shelving niche that probably used to be a window before this whole bedroom addition was put on, circa 1985. We decided to take out the closets and the dividing wall between the rooms and create a loft feel to a large master bedroom. So first thing first is to remove the closets and the wall, bit by bit. The entire wall you see is to be removed. The old structural system was a metal pole sitting on the window sill frame. :( In the shot above, the closets are gone and only the structural framing of the wall remains. On the left side is the original exterior stucco from before they built this addition. Below is a pic of my first I-Beam! It's a W8-10, if you're so inclined. Here, it's in my shop waiting for a cleaning and finish treatment. 10 feet, 10 inches of Tim Allen grunting and screaming, "Oh, oh, oh," like an apeman! After putting up some temporary framing to support the ceiling and installing new framing to support the beam, Dane and I wrangled it into position. I will say, it fit like a glove! the top plate was level and flat, and each set of posts were the same length - exactly! You can get a sneak peek at the back of Diane's closet in the next pic, it's made of mahogany to match the wood from the bathroom.
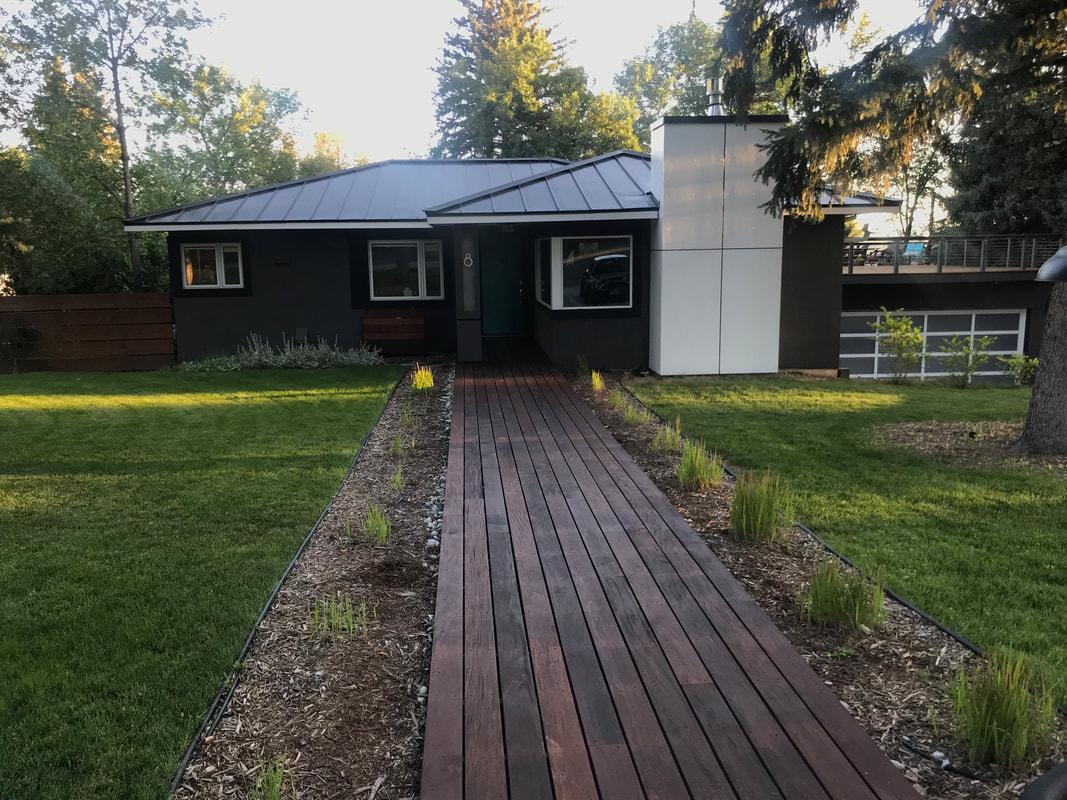
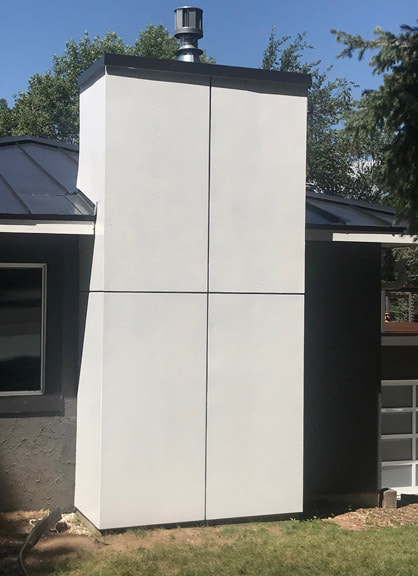
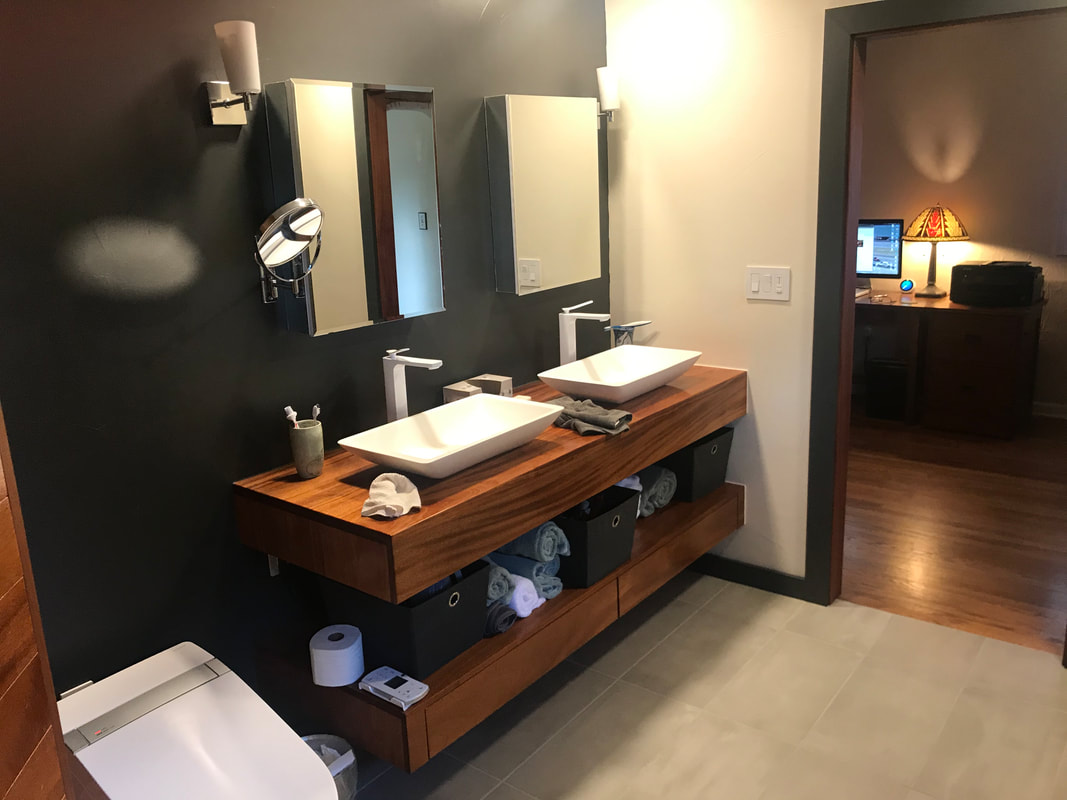
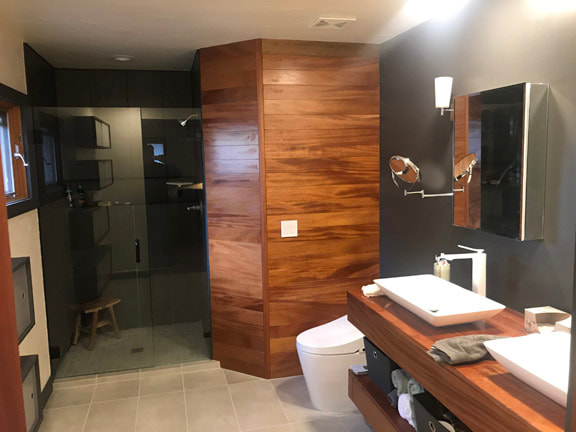
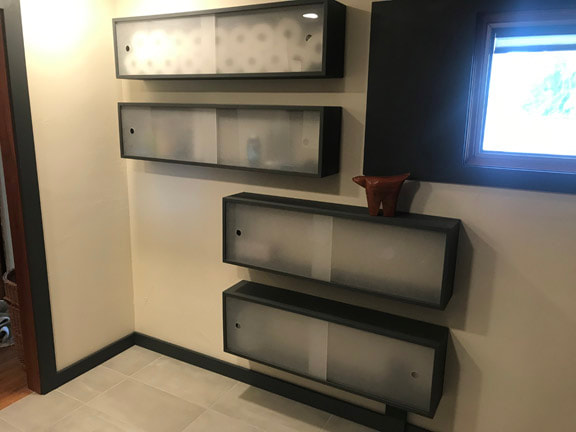
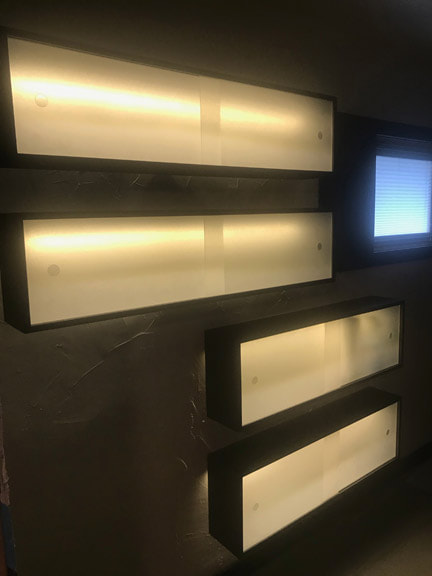
My government loves it! Now it's time for drywall and texturing. The older project was the fireplace. It is now complete on the outside! The interior work was already done. The Chimney exterior was installed with a geometric twist, and the roof has been replaced. So that's a wrap! Then the bathroom was trimmed out, and some wall cabinets were added that double as night lights with some low voltage LEDs. We used mahogany for the counters and wall paneling. Daytime cabinets:Night time cabinets:On to the next project; rethinking the master bedroom space and master bedroom closets. I'll keep you posted!
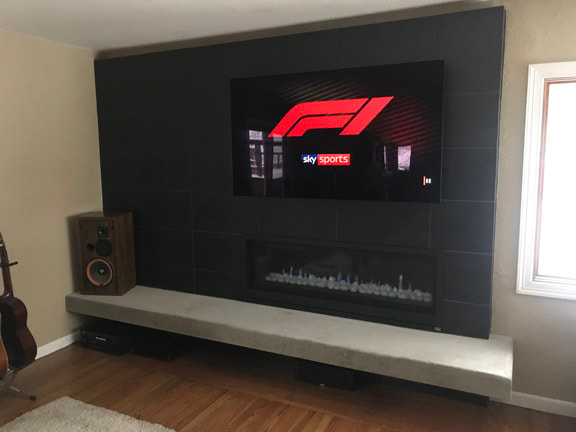
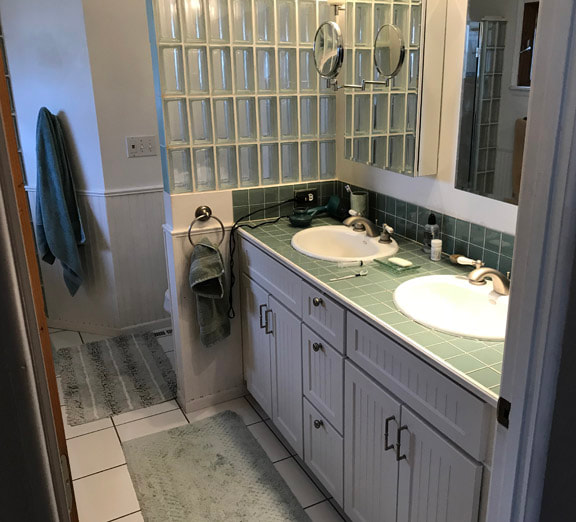
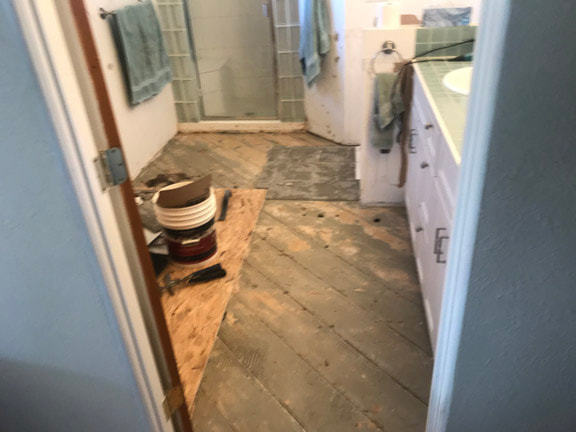
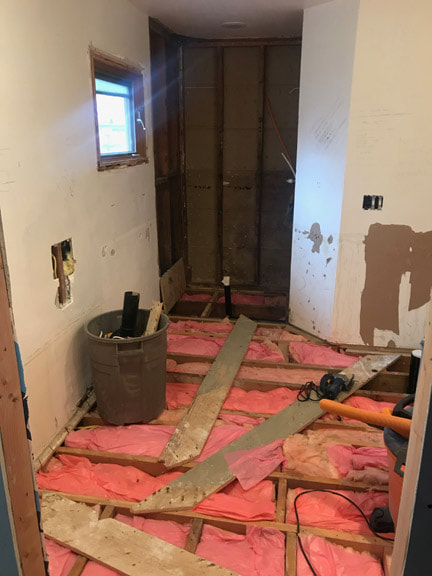
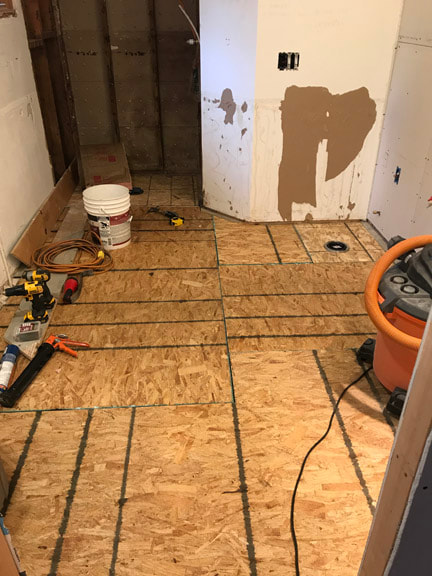
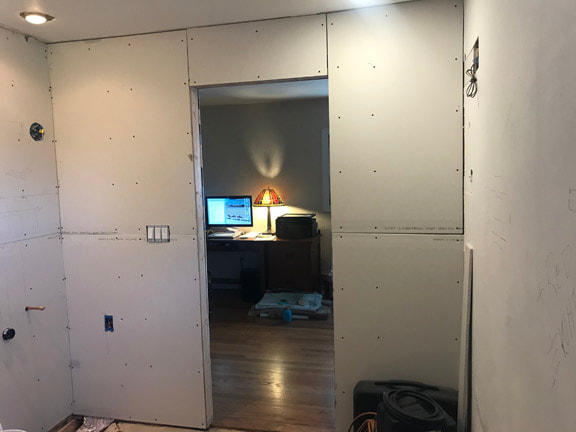
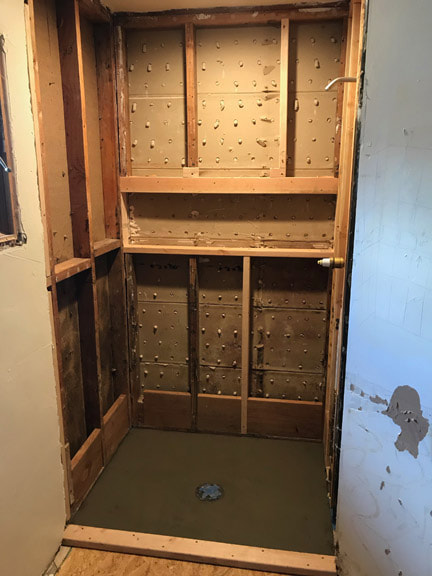
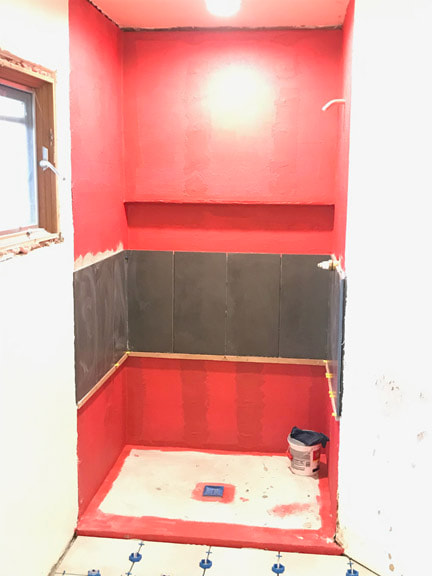
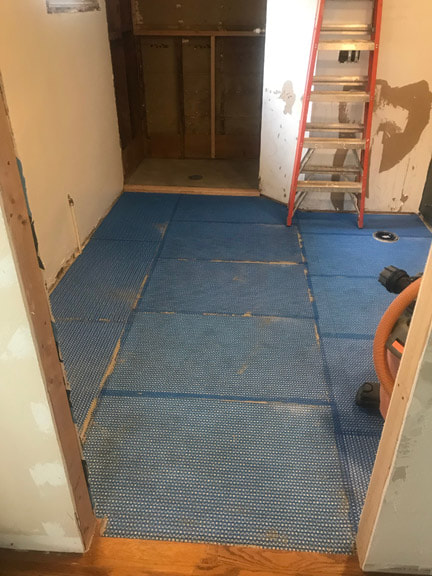
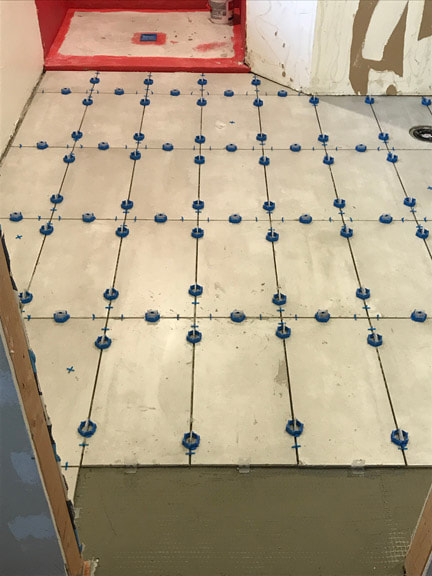
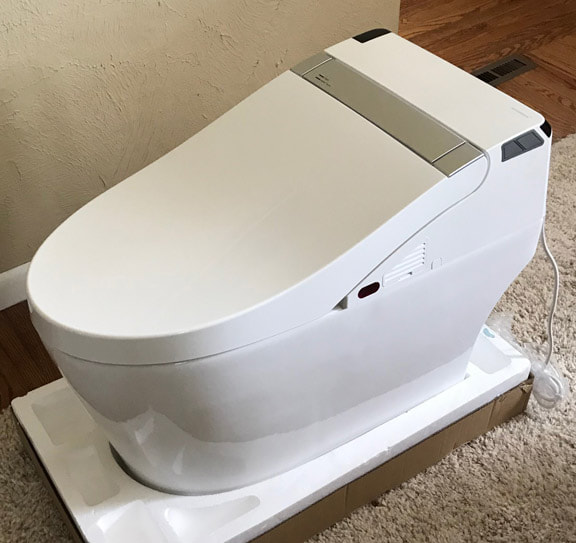
I'll leave this at the top. Here's how the fireplace turned out on the inside. The exterior will be resolved in the next month or so, right after our roof is replaced from the last hail festival - I included a pic of the party balls! As a matter of fact, the roofers are tearing off the old roof as I write this. If you look closely notice the fireplace is operating beautifully and the fancy, schmancy OLED tv is working perfectly with the stereo moved over and dialed in for a cozy theatre experience. Queue the Formula One race! On to the next project... The Master Bath! And this what it looked like for the last 10 years. Nice enough, but very squeaky floors and faucets that always needed repairing. Step one, demolition of floor tile, exposing the original wood plank subfloor. There's no pic, but the glass block by the vanity and in the shower is removed only one way - with a sledge hammer! And meticulous cleaning up as there was shards of glass EVERYWHERE! The demo continued until reaching the point to begin reconstruction. You see the only walls left intact, the others were stripped of the drywall. Be careful where you step, otherwise you'll have a foot in the basement! That's the insulation I put in the ceiling when I remodeled the basement. (Nice job.) A glorious new subfloor! Glued and screwed to the original floor joists - and squeak free! That's nice. Also relocated the toilet and shower drains to the best positions possible. Drywall installed as well, with roughed in plumbing and electrical. Next up, was new framing for the shower niche and water proofing the whole shower after putting up 1/2" cement backer board. The first course of tile is shown with the water proofer. All laid out with a cleat on the bottom, to insure level tiles and to locate the niche at the tile grout line. This is where I'm hoping the dimensions I calculated earlier were correct. Before lying down the floor tile, I put down an underlayment that allows for small movement between the floor and the tile. This prevents cracks in the tile. Tile, tile, tile! Found these devices to help level the tile. Really easy to use and prevent "Lippage", or the uneven-ness you'd notice otherwise. The on site inspector notices everything! The 'splurge' finally arrived - a Bidet Toilet. Will let you know how that turns out. Seems a little odd, but we were at the Kitchen & Bath Industry Show in Las Vegas in February and of all the things that caught our eye...
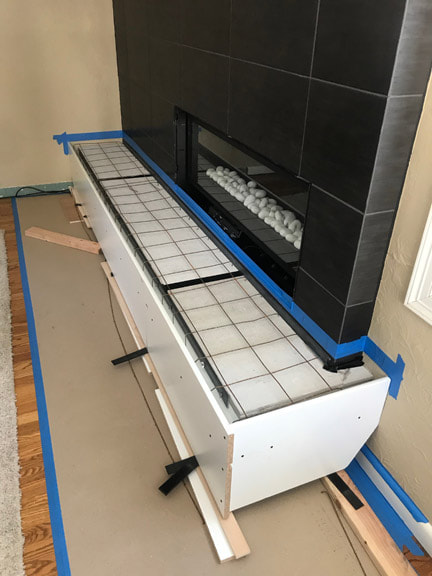
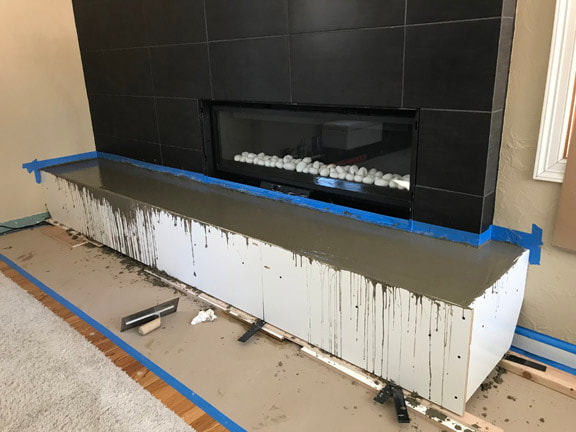
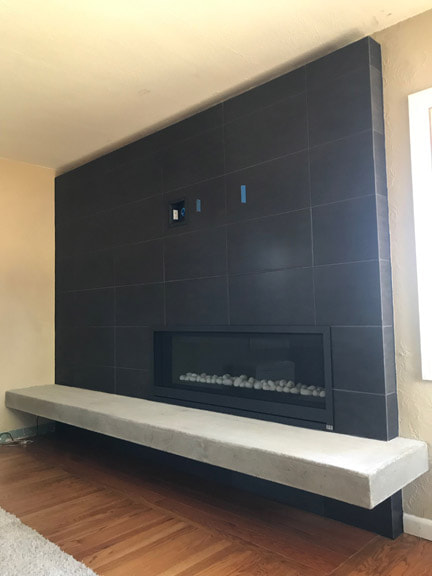
It sat in the living room, on display, for a few weeks. We went to the Las Vegas show for two reasons. First, it was our 26th Anniversary and that sounded like something fun to do. Second, was we were curious about some kitchen and bath features we'd otherwise miss. So we had a great time, walked 8 miles everyday at the LV Convention Center, and had some great meals at celebrity chef restaurants. Gordon Ramsey's places were the best! Part one is make a form for the concrete. Part two is fill and level. Part three is enjoy! Time to hang the TV above the fireplace!
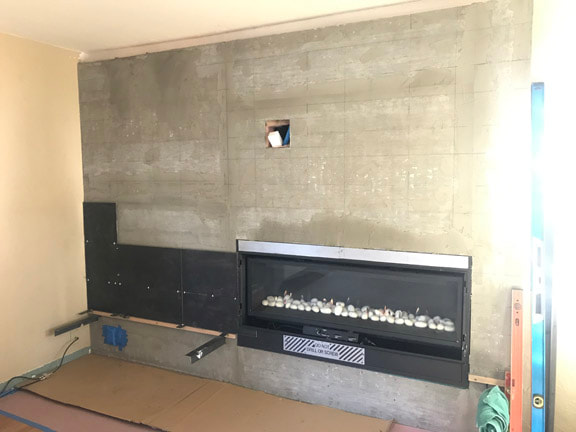
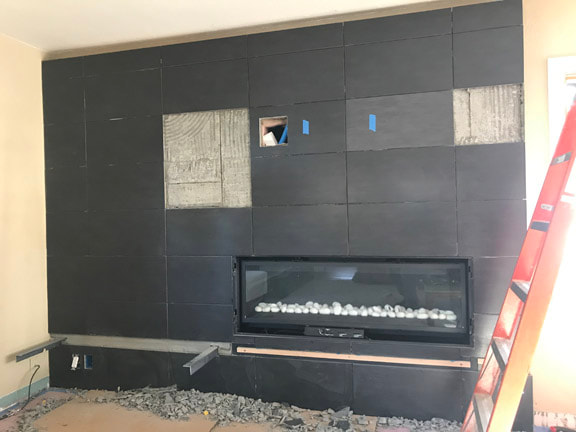
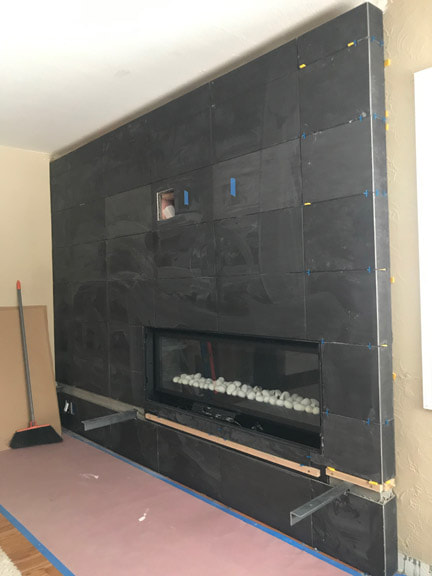
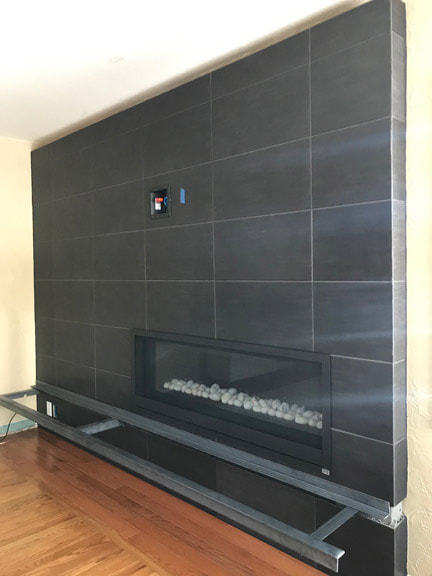
Making progress is not always easy and can be frustrating. Like pressure testing the gas line should be (and is, in reality) easy. But this project is not one of the cookbook recipe items on the Regional Inspection website. "Hire a professional," was the common response. ARG! After more than a week of diligence, I was able to finally talk to someone who kindly spent time on the phone with me suggesting a small change. Turn the gas off at the fireplace - the fireplace won't hold the testing PSI. (Insert choir music!) Job done, thank you Jeremy Kreps. You'd think that would be written down somewhere, because I looked! Gas line pressure is just a little worrisome, as the consequences would be, uh, not good. That was a long week. Once passing that inspection, I could finally begin closing up the area. With a tiled wall planned, the first step was to put up Wonderboard, a thin concrete wall board. Once up, there was underlayment for tile, which is begun in this photo. My skill with laying tile is admittedly low, but I called Dave Colyer who came over with encouragement and essential tips for laying tile. We are planning to hang a TV above the fireplace, so there is a hole for the concealed outlet and cable run. After tiling, VERY, VERY CAREFULLY, it was clear that our tile store, traders in the business, gave us some wrong colored tiles. What you see here is the view after I removed some of the discolored tiles. So they gave us MORE of the same tiles in the wrong color again! (In their defense, the tile is very close. Not in their defense, is this is what they do and I shouldn't have to bear the additional expense associated with replacing 9 tiles. If I order a black tile I should get a black tile.) The finished tile, with grout and caulked edges looks fabulous! We are really happy with how it turned out.
The next step is to pour in place a concrete hearth. See you then. |
AuthorSix years ago this blog began when I began building a detached garage with a rooftop deck connected to our house deck. I did everything then, but now the blog will show some recent projects. Archives
August 2024
Categories |


 RSS Feed