|
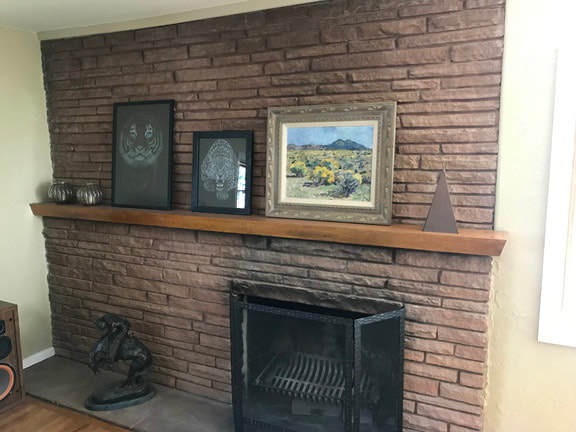
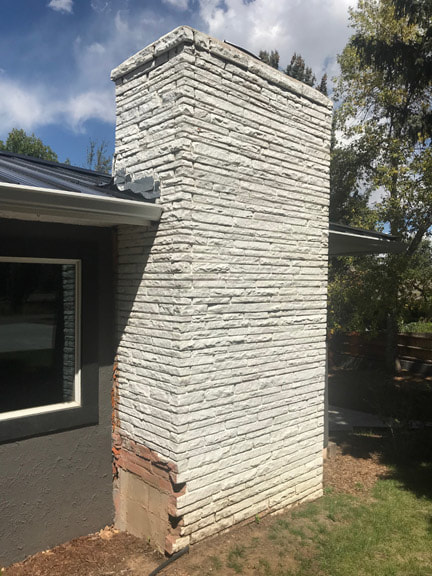
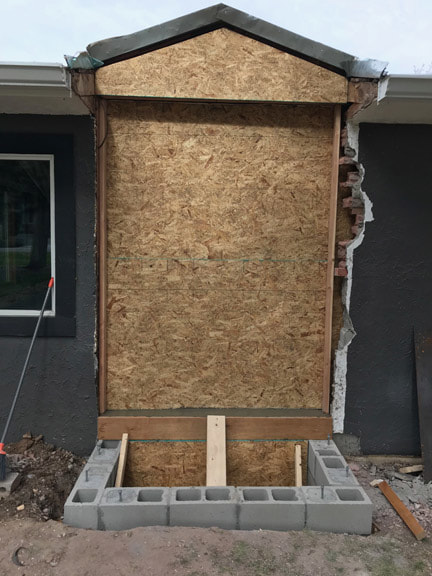
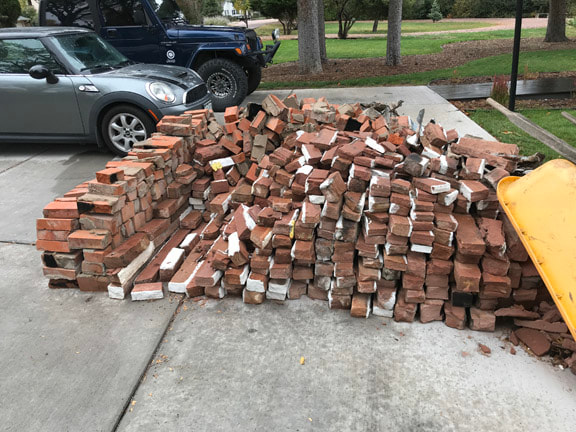
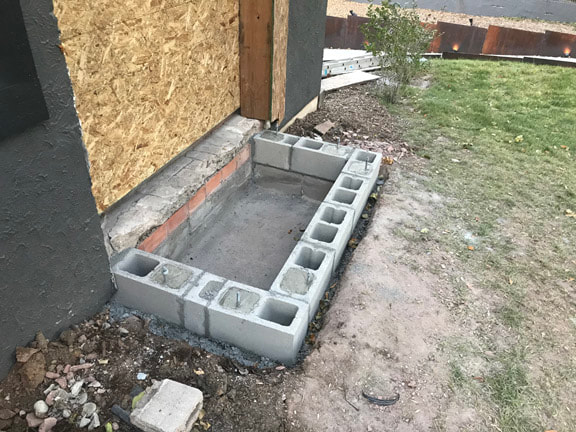
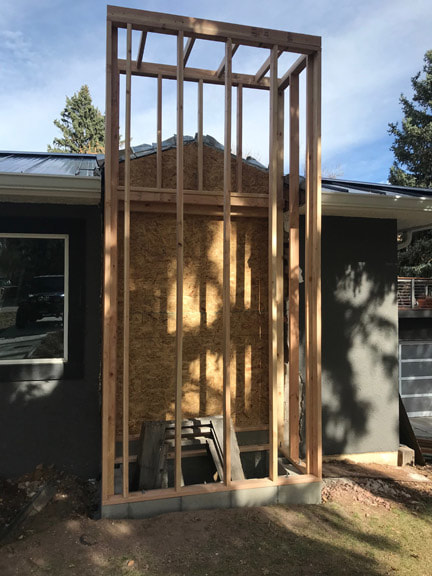
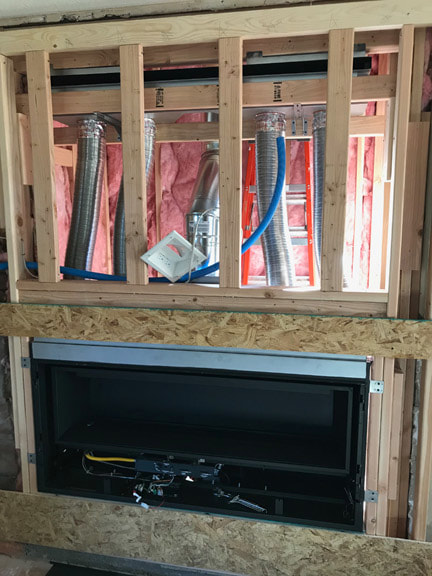
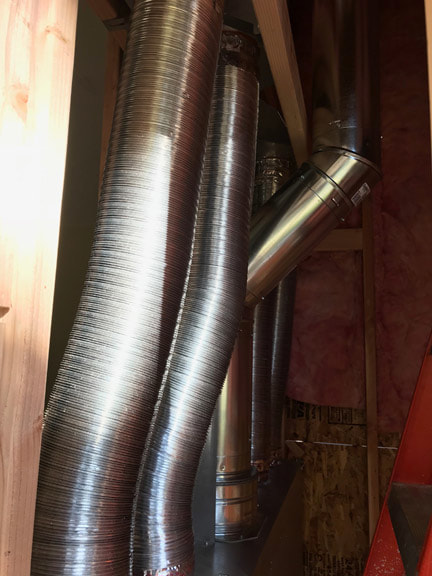
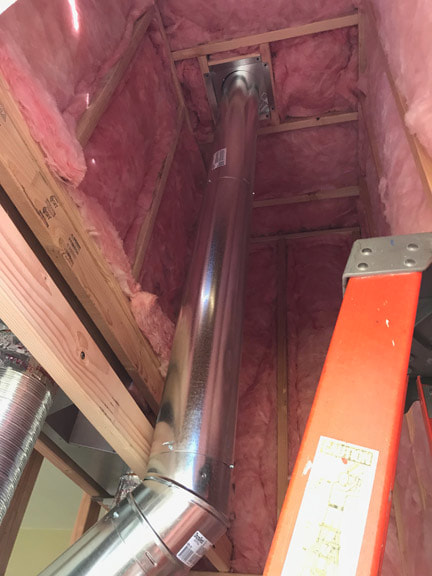
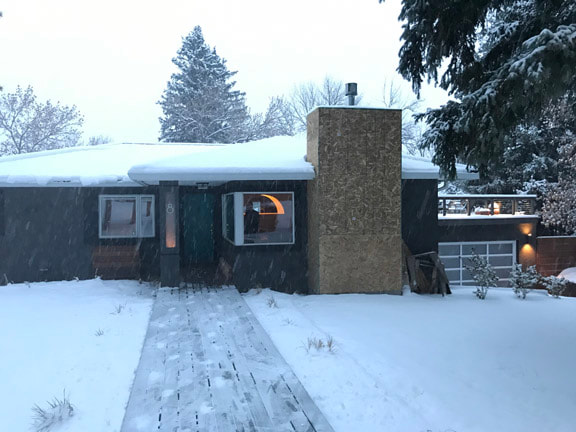
Finally created a new plan to replace the wood burning fireplace! It was in sorry shape, as the pointing (concrete between the bricks) was falling out of the fireplace proper. The chimney was listing away from the house, as a result of 60 years of a downspout affecting the soil under it. We stopped having any fires about 5 years ago when the pointing became visible. Otherwise there's chance for fire and smoke hazards. Good thing, since it was clearly a problem noticeable during the demolition. The new plan is to have a fabulous new Linear gas fireplace. Gas, so we can use it as conveniently as flipping a light switch. Linear, because the glass is 15 inches tall and 55 inches wide. Here's the before, inside and out: There was natural flagstone on the inside and it was painted white on the outside. Step one was demolition. The pile of rubble is about a third of what was removed brick by brick! Good thing for Craigslist, as all the brick was loaded and taken away by a young man with a new house and visions of great projects - good luck Jonathan! Time for some restoration. Next was framing and setting the fireplace with all the venting. With a deadline approaching, the inside was insulated and the outside sheathing was installed. Including the top cap. The sheathing was put on just in time! Inspections are next, and then decisions about the final exterior finish. But the priority will be to get this bad boy turned on and heating!
1 Comment
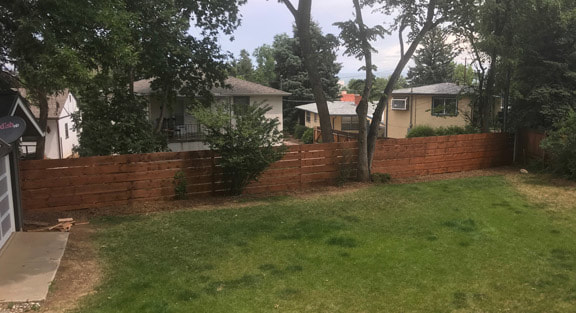
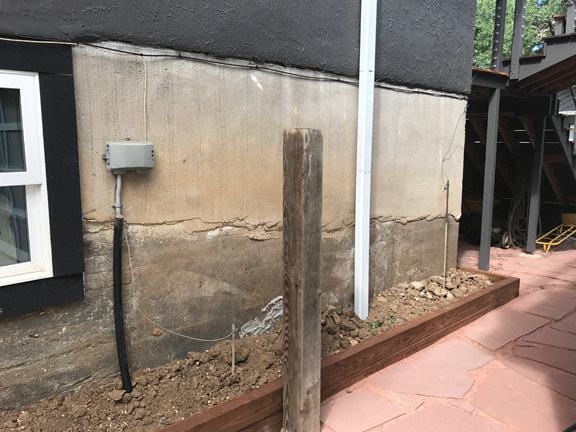
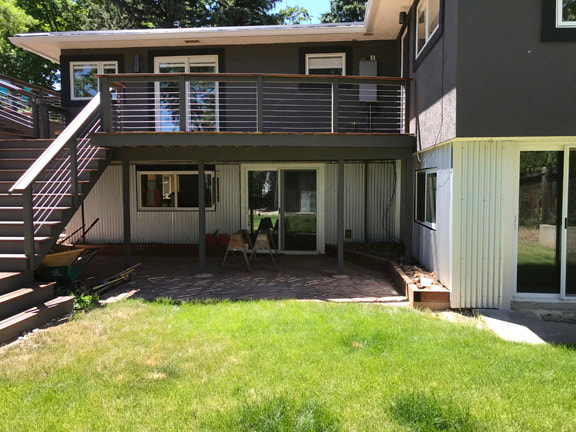
This summer was not a complete vacation, as I did complete a couple of projects. Notably, replacing the back yard fence and covering up the foundation walls that put the "OOOH!" in ugly. The fence was only 3ft tall in some places, partially painted, and falling down. So we designed a fancy new fence and got it up in 8 days! My back yard neighbor suggested we go in together on a fence and that was something to capitalize upon, so we did. Thanks go out to Josh and John for their help. Next thing was to cover up that hideous foundation wall exposed after the back yard project. Here's a before closeup, with half stucco and half soil stains. (Remember we took out 60 dump truck loads of soil out of the back yard in order to accommodate the garage and give us a flat yard.) This is after installing new corrugated steel siding on the foundation wall. Bringing our "Industrial Chic" look to fruition!
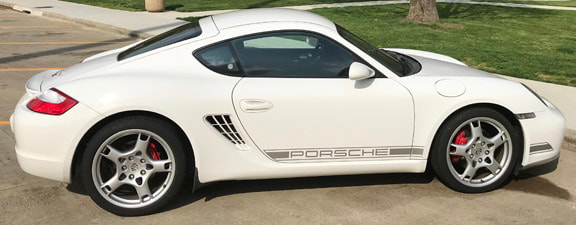
In pursuit of the deal, I flew to Atlanta, GA, then took a shuttle to Auburn, AL, then took possession of this little beauty. We looked long and hard for this vehicle. It's a 2006, the first year of the Porsche Cayman S - they were all S's that year. The interior is blue, like a men's blue suit (back in the shade, dark blue in the sun.) It's the basic model, 3.4L flat six with a 6-speed manual transmission. It's a riot to drive! -No tickets yet.- Sent an extra set of wheels home via UPS, then set out on a non-stop return drive home. Blissfully. Happily. And, trouble free! Back to loving life with the SCCA! Autocrossing locally at Pikes Peak International Raceway. Also replaced the stereo with a functioning system that redefines car stereo - it even runs all iPhone apps. Spoiled, no, modern, yes!
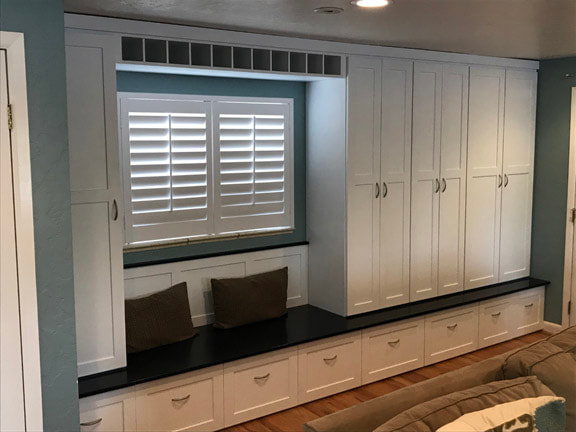
Our neighbors across the street wanted to do some storage coming into the house with closets and drawers for themselves and each of their four boys!
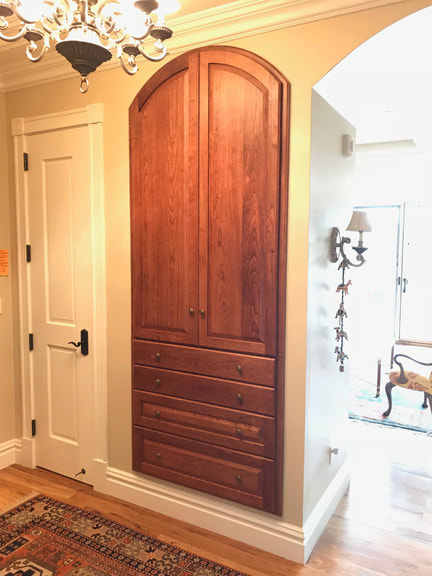
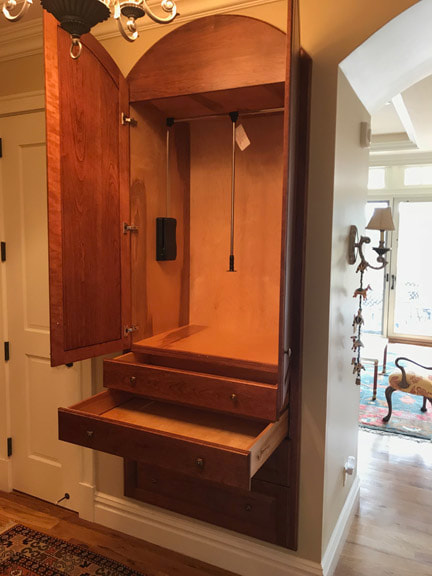
Starting with an image from the internet, we made a custom version with two top shelves behind each door and big drawers below. The cabinet doors are Maple painted white with a matching wine rack above and open bench below the window. Each door has soft closing hinges. The bench is a 14ft long ebonized Oak panel. The drawer interiors are tall and deep Birch dovetailed hardwood with soft closing slides. Everything should stand up to four boys and years of good use. If only all my jobs were this convenient! A Foyer cabinet in Broadmoor West to provide drawers and a coat closet. The objective to match the existing architecture and furnishings with the selection of Cherry for the wood and coordinating door and drawer pulls. The next shot shows the drawers and doors open. The top drawer is only 12" deep for keys, hats, and gloves. The bottom three drawers are 30" deep. Notice the wardrobe bar is quite tall, so there is a pull down handle for convenience with a weight capacity of 35 pounds - a place to store the winter fur coat! Other details include Birch veneer plywood interior, Birch dovetailed hardwood drawers, full extension soft close drawer slides, and a soft close pull down wardrobe bar.
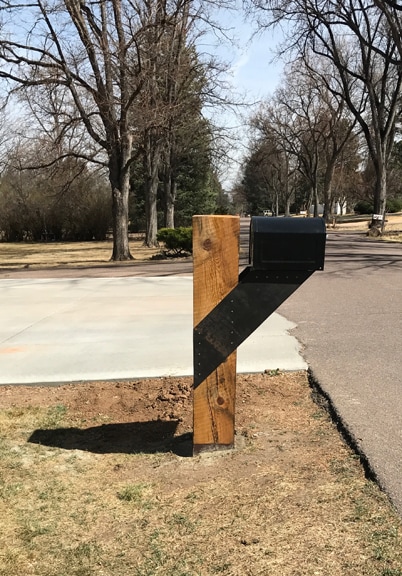
Say, how about we get rid of that old mailbox and build something cool! How about an Amazon delivery sized mail box attached to a post 12 inches square held up with some of the leftover Corten Steel used for the driveway retaining walls.
Passed the 'Final' building inspection! No more inspections.
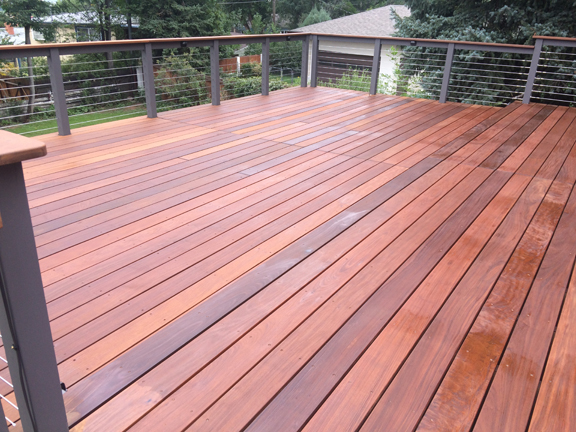
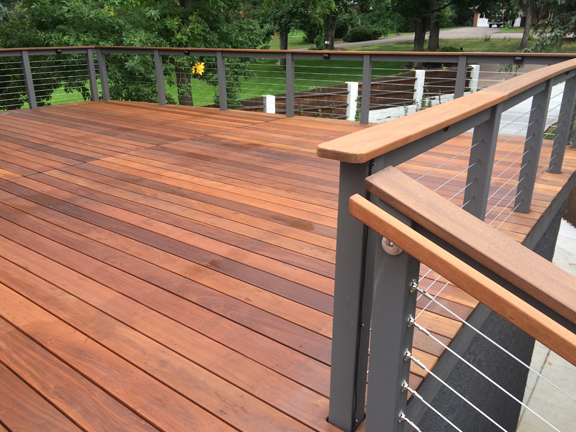
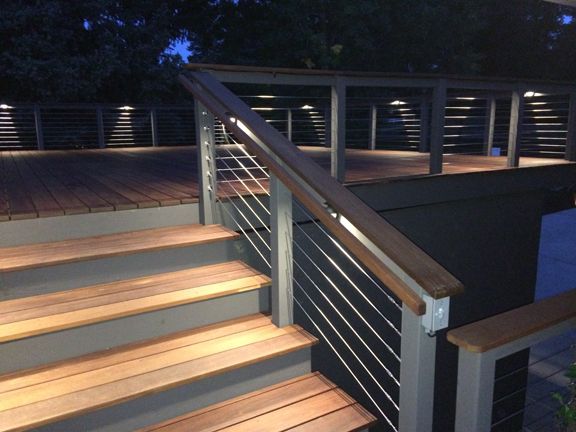
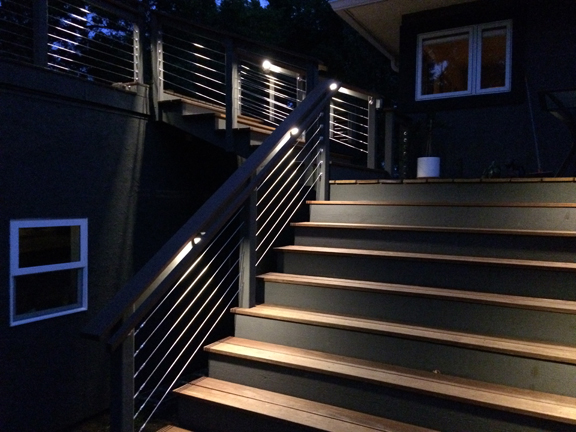
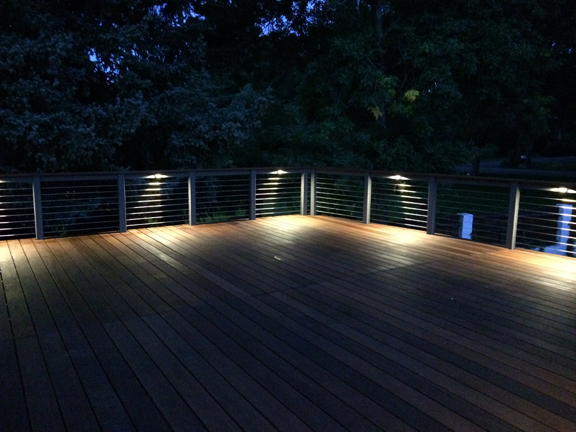
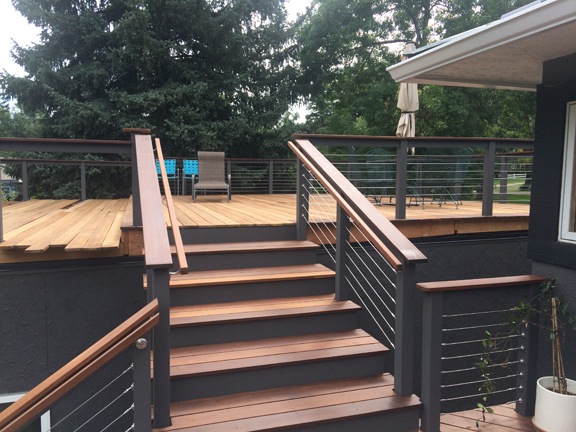
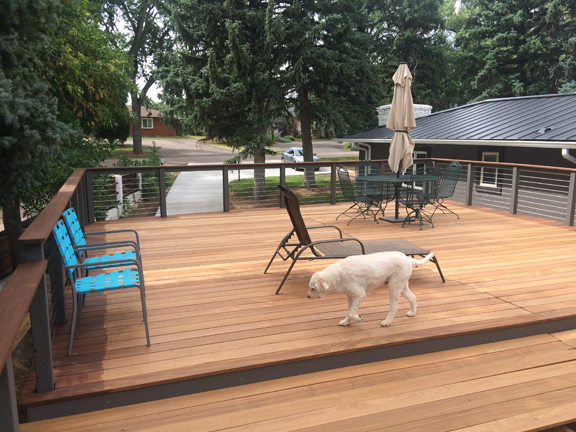
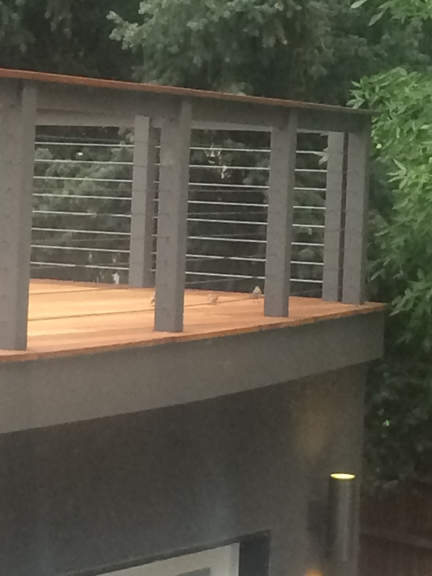
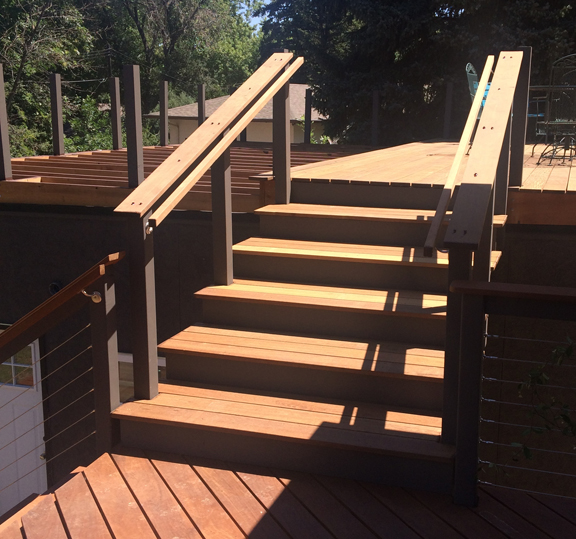
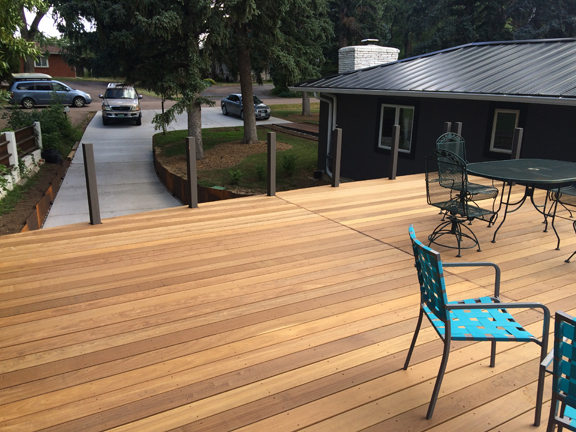
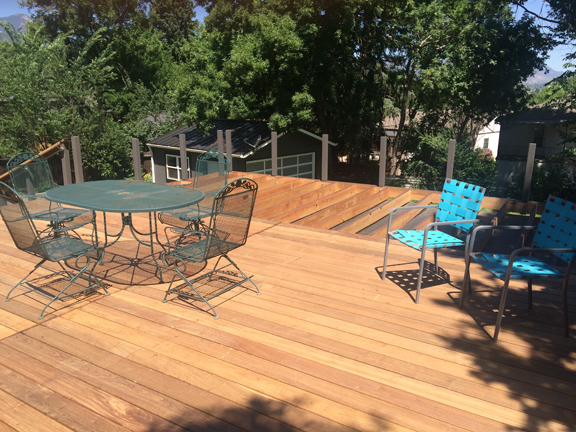
The last two remaining items on the 'To Do' list were deck lighting and deck stain. I began on the same day as the inspection. As soon as the inspector left I began installing power lines for the low voltage LED lighting. I located the lights just under the handrail on the deck and both sets of stairs. Unexpectedly, the lights reflect off the stainless rope balusters in a geometric pattern that adds to the modern, contemporary theme we've cultivated. After the lights were up, the whole deck got a good sanding to prepare for the application of Ipe Oil stain. This was a little easier with 110V outlets installed on the deck and much more convenient than extension cords from the ground level. Here you go with views of freshly stained decking by day and nice shots of the night time lights. Cheers! Everything is looking pretty cool! The remaining deck boards I need to complete the north side should be here Monday. This photo of the random board ends to the left of the stairs shows what I'm working on next and the stainless steel rope balusters, as well. It is reassuring to know the balusters are up on the main level, so Enzo doesn't go over the edge chasing a squirrel! A keen eye would notice the extra hand rail required by code. The flat top rail is too big to grab with your hand, so they specify something smaller.  The fascia is up on the street side only. So it looks more complete than it is because we're hiding the unfinished business in the back! The fascia is the piece covering the framing for cosmetic purposes.
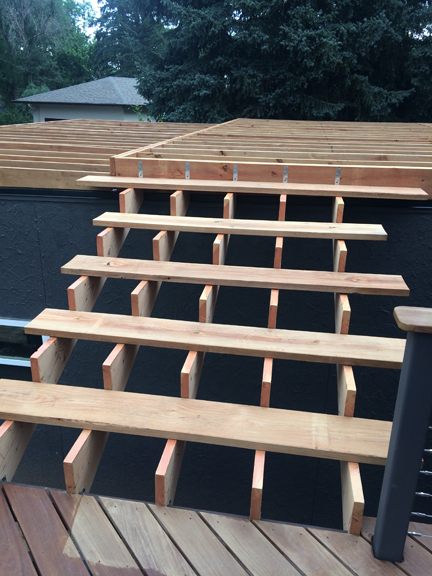
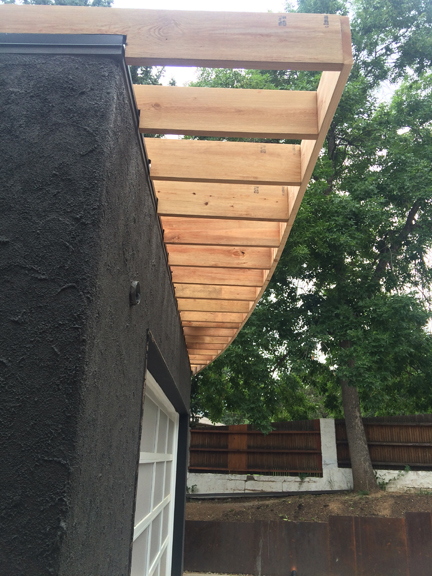
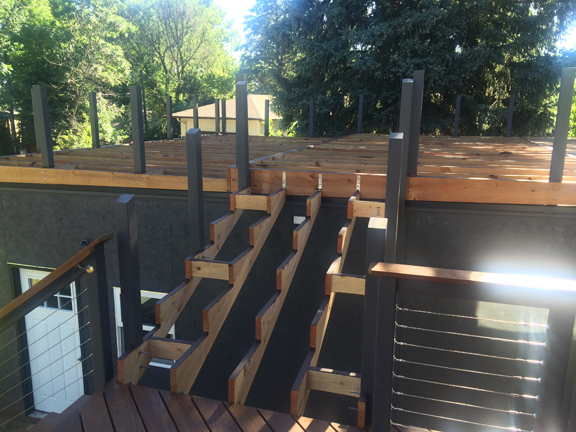
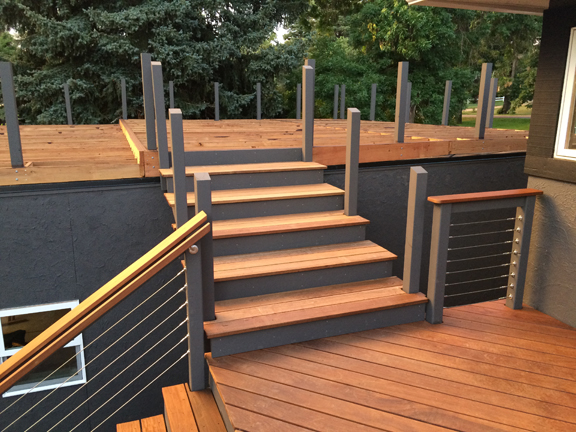
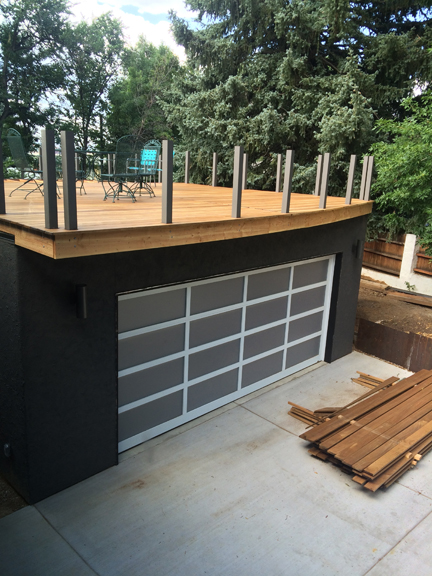
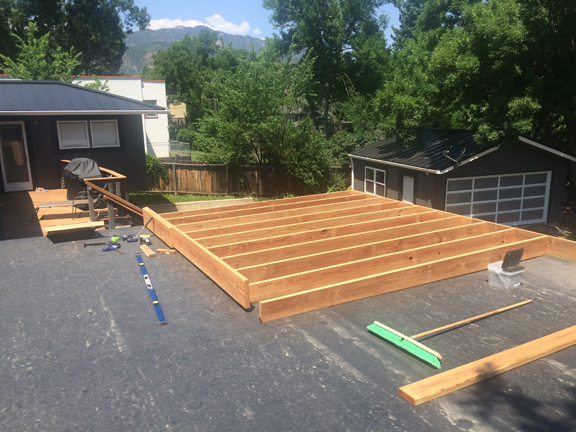
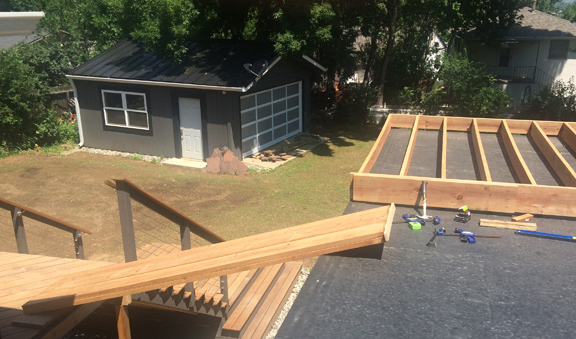
This is also a good view of the lights put up by the doors. Oh, it's getting close, but we're using it and loving it! The framing was completed and passed inspection. Normally the inspection happens later, but being on the roof would totally conceal the framing once the decking was laid down. The ramp was removed and the frame put up with some loose boards serving as steps. The second pic shows the fancy dancy cantilever with returning arc - matching the deck attached to the house. Another little task was making the posts for all the railings. Just a few... Posts are up and attached with Galvanized nuts, carriage bolts (they actually grab the wood so you don;t need a wrench to secure the bolt), washers and lock washers. Then painted before I get too far along. Progressing with the stairs first makes it easier to carry everything up to the frame for assembly. First the steps and then the handrails. The deck boards are going in slowly, but only because it's been in the mid 90's every day. HOT! I'm saving the lower deck for last. Time to trim the deck boards on the upper level. Just snap a chalk line down and use the circular saw. How do you snap a line for a big arc? Decks can be an enigma. Far from complete, we are beginning to use the deck and it's FABULOUS. Even with our old cheap outdoor furniture.
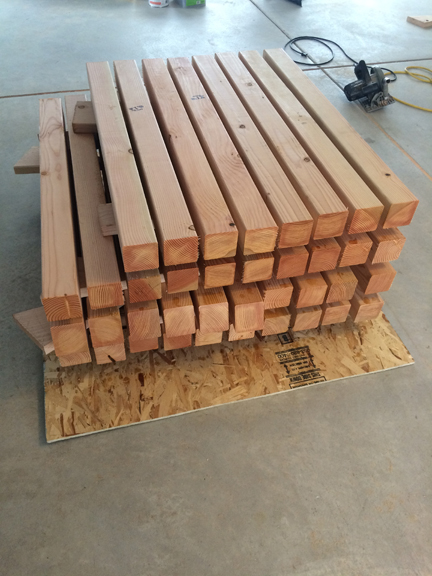
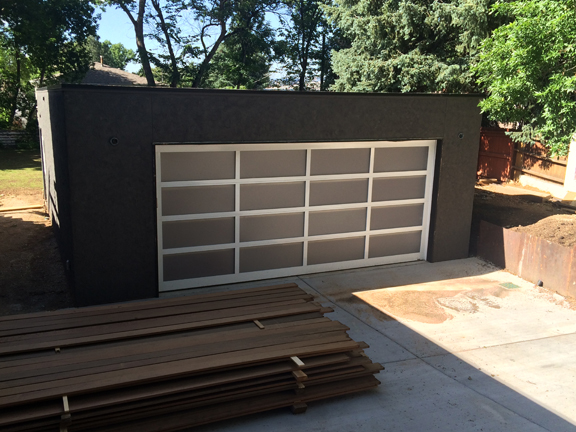
It's been properly baptized with spilled red wine. But an afternoon thunderstorm washed it right away. Today the inspector came and we passed the Final Electrical Inspection. All that remains is the Building Final Inspection. Cheers! Got the final coat of stucco applied. It was really just the texture that mattered because it has been painted to match the house. Painting was quite difficult since the texture was so rough. I used a 5 gallon bucket of paint on just the front and both sides with a 3/4" roller. The back will be done later as it was still wet from the rain water cascading off the roof there. You'll notice the newest stack of lumber for the rooftop deck. What you can't see is the stack of PT (pressure treated) lumber inside the garage. Using the PT lumber for the frame of the deck. PT is necessary as this is a 'sleeper' frame, meaning it rests directly on the roof and will get wet. Nothing like being on a black roof when it's 90 degrees! I built this ramp - FINALLY! I think I failed the intelligence test when I brought the first pieces up the ladder. After almost killing myself a few times that day (and really exhausting myself) I started the second day by building a ramp. Much easier and safer to be sure. Well, it's more entertainment for the passers by.
If you look closely, you'll also notice the grass starting to come up in the back yard. Remember I leveled everything, and put in sprinklers? Well we put fertilizer and seed down near the end of May. |
AuthorSix years ago this blog began when I began building a detached garage with a rooftop deck connected to our house deck. I did everything then, but now the blog will show some recent projects. Archives
August 2024
Categories |


 RSS Feed