|
Well, out of the corner of my eyes I'm watching the concrete dry. But I've been busy! Really, I have! Tomorrow will be 2 weeks since the floor was poured. That's plenty of time. Actually, Chuck said one week was enough time for light weight vehicles, but who has one of those? So, in the meantime I dug what I hope to be is the last ditch - ever. This was for power to the house and shop. What I'm not showing is the other ditch to the shop from the garage for our Dish Network wiring and other wiring in case we attach outdoor lighting to the shop from the house. 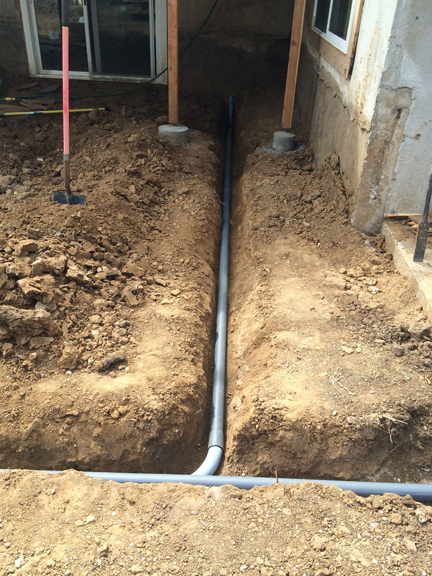
The stairs up to the deck come down to the landing. So I built the framing for that, being very careful to make sure it was in the right spot and at the right height and parallel to the deck beam. Being less than 18 inches from the ground, it was made of pressure treated lumber. I almost forgot to say I had to dig for the foundation blocks, too. Here's that monster: 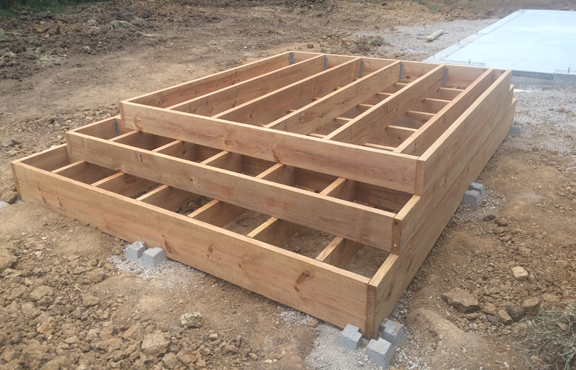
After the landing was squared away, and checked for accuracy. The next step was to make the frame for the stairs. I don't know why, but the stair frame members are called stringers. the trick is to make the first one correctly, then use it as a template to cut the rest. 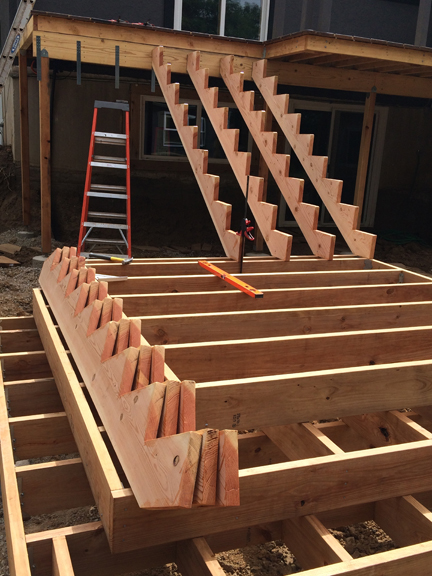
When you make your stringers, you'll need a framing square (which I think think all guys own, right?) Then, instead of buying fancy little square stops that will just get lost, I find a reasonably straight piece of scrap and clamp it into position to draw the rise and run of each step. 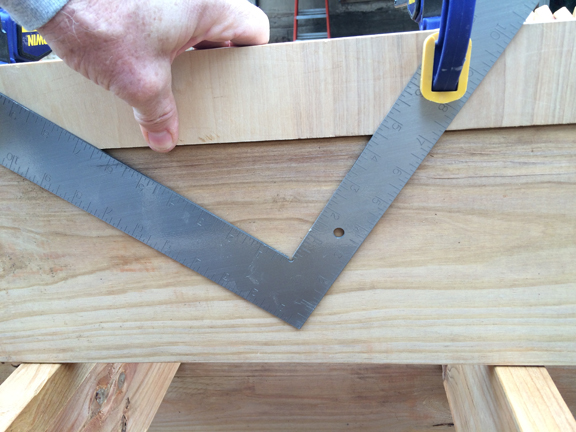
Then cut out the pattern for the steps staying to one side of the line. Use that stringer as the template for the remaining stringers and cut to the same side of the line. If you're not particular about which side of the line you're cutting, or how sharp your pencil is, please don't ask me to fix it - we all learn from our mistakes and you'll learn, too. The reason I'm making a big deal about this is because the width of the saw blade can be up to 1/8 inch, and when you cut to either side or nearby the line (please don't tell me that!) it can be up to 1/4 inch off. This requires accuracy! If it takes an extra hour to make sure you have figured out the rise and run correctly, it will be an hour well spent. Or your stairs won't be flat or solid. 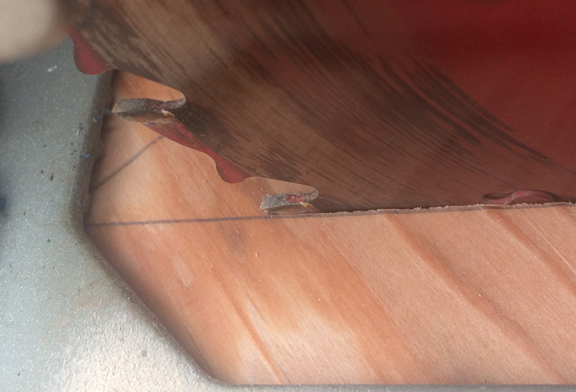
Here's the completed framing. Notice the blocking I added to the outside stringers to beef up the railing post attachment locations. This photo is a few days old. I've been painting and decking like mad to get rid of that ladder behind the stairs. I hope you look forward to the finished photo! 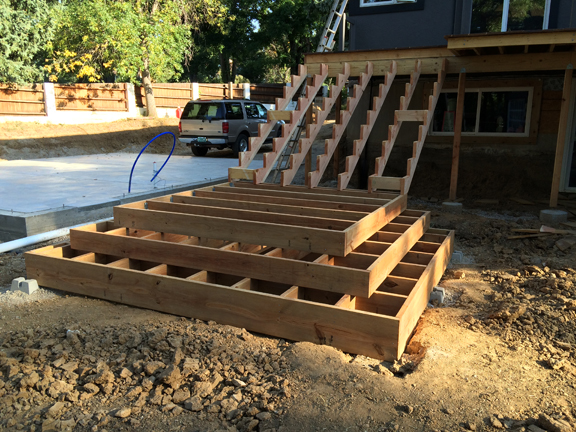
So I had a little fun with the dust mask my son, Dane, was wearing when he sanded the railing posts. What do you think? 
0 Comments
Leave a Reply. |
AuthorSix years ago this blog began when I began building a detached garage with a rooftop deck connected to our house deck. I did everything then, but now the blog will show some recent projects. Archives
August 2024
Categories |
 RSS Feed
Thomas J. Birkeness, Founder & Master Craftsman | 719.896.0574 | [email protected]